World 2-3 continues the trend established by the previous two stages: Paralleling the design of Worlds 1-1 through 1-4, but in a sideways manner that goes beyond mere cyclical repetition. And in a way that makes sense, too. Just as World 2-2’s journey underwater echoed World 1-2’s descent underground but played out in a completely different fashion, World 2-3 takes Mario way up high, where solid ground remains out of sight, but doesn’t simply reprise the mushroom platforms of before.
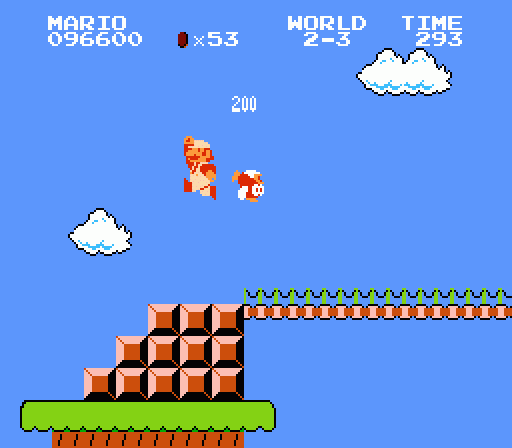
Instead, World 2-3 sends you dashing across a bridge that spans a wide river — a logical follow-up to the previous world’s quick swim. Your footing here is more stable than it was in World 1-3, as the bridge largely consists of a wide, flat expanse. A few gaps in the span break things up and require some precise platforming, but for the most part your best bet here is to make a mad dash for it rather than fussing about with precise footwork. Still, there’s more in common here with World 1-3 than a superficial lack of visible solid ground below; like the game’s third stage, World 2-3 lacks any secrets or alternate routes. Aside from a single power-up and some coins, Mario’s only possible path is to dash to the flagpole at the end.
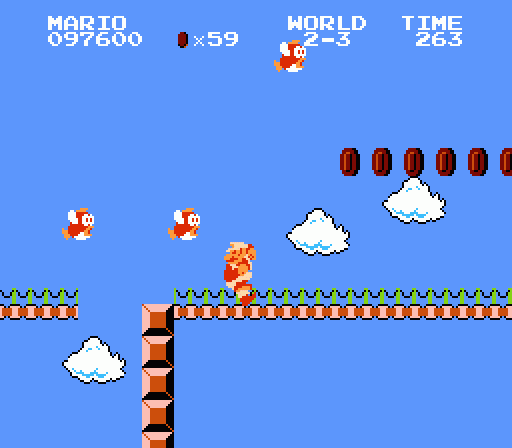
Cheep-Cheeps appear as the only foes you’ll face here, and they behave quite differently than they did in World 2-2. Where before they swam slowly and in a simple straight line, now they spawn infinitely from below, sailing out of the water at Mario in long, lazy arcs. Generally, they leap from behind him in an arcing motion timed to bring them down on his head. The Cheep-Cheeps’ motion is timed to bring them down in front of Mario if he moves at normal speed, but if he runs they’ll always drop behind him. This stage is a cinch to complete unharmed by simply dashing. Run at full speed and you never need to worry about being hit.
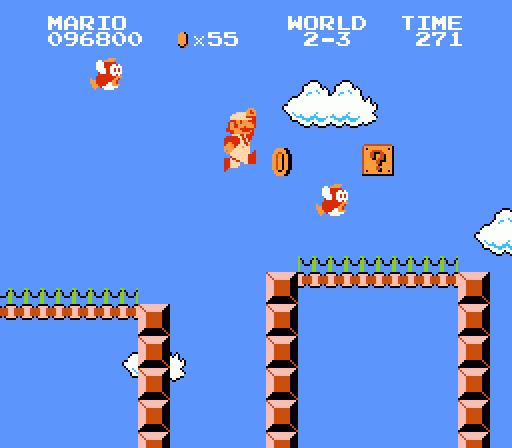
This can be very slightly tricky when jumping, of course; if you move at breakneck speed and don’t mind the height of your leap when you come to the gaps, you’ll sail right into the fish. Now, if you happen to jump on a Cheep-Cheep (or if one smacks into Mario’s feet while jumping from below), you’ll squash it, unlike in the underwater stage. But if one lands on you from above, you’re as screwed as when any other enemy hits you from on high. So cautious hops are the order of the day.
There’s another downside to simply running at top speed, of course: You won’t be able to collect all the coins. And, it turns out (according to some references link to by RayVGM, who also provided the images for this series), gathering all the coins in a World x-3 stage causes a precious hidden 1UP block to activate in the subsequent World x-1. So if you want World 1-3’s optional 1UP, you’ll need to take it slowly and gather all the coins. This makes you much more vulnerable to the Cheep-Cheeps, so as with so many factors in this game, you have to make a tradeoff here.
World 2-3 isn’t a difficult stage — if your only goal is to reach the end of the level and move on, it’s the least challenging level since World 1-1 — but you need to step lively if you want to get the most out of the game.
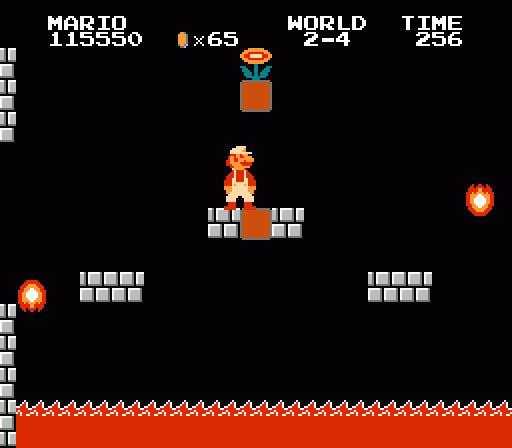
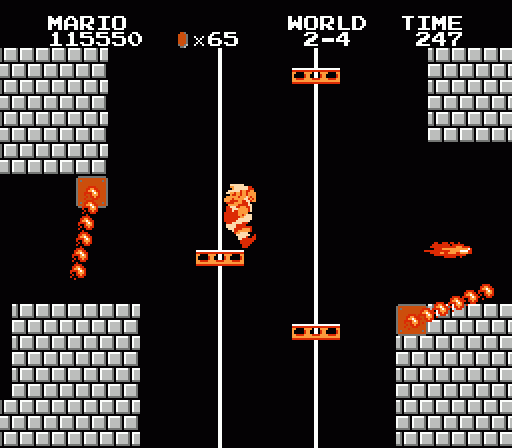
World 1-4 brings Mario back into the castle scenario, though this Bowser showdown adds new threats to the mix. The initial moat of lava is much wider this time around, and it’s “patrolled” by indestructible leaping fireballs called Podoboos. These rise from the moat in a quick vertical motion, slow down as they reach the apex of their jump, and drop back down into the fire. Mario has a couple of seconds between their appearance, so they’re not unreasonably dangerous; they simply demand you remain on your guard and don’t get too complacent about the seeming lack of enemies in the castles.
Beyond the fireballs, the path splits into two narrow passages. Either one is perfectly fine to take, but the upper path puts you at a disadvantage with no reward. It doesn’t offer any particular spoils or power-ups, but the fire bars that obstruct both passages rotate in such a way that they turn with your movement in the lower path and against your movement in the upper path. So going via the bottom route makes things easy: You simply need to follow behind the bar’s movement and you’ll be safe. On the top route, however, you have to dash past a bar once it clears the way so it won’t catch you on the return.
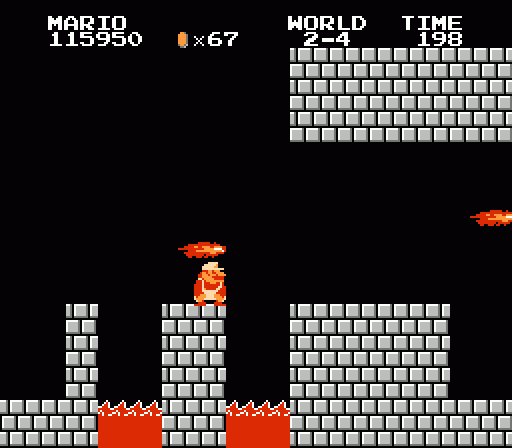
Beyond that, World 2-4 brings back the infinite elevators from World 1-2, but this time they’re far more dangerous. Not only are the elevators smaller, both sides of the pit they traverse are guarded by fire bars. Plus, you don’t have any safe ground to stand on between elevators — you need to jump from one to the other while in motion. On top of that, this is the point at which Bowser’s gouts of flame begin appearing from the right.
So that’s three different moving hazards to overcome all at once, with the added challenge of no safe ground beneath the elevators. If the rightmost set (which descends into the pit) carries you off the screen, you’re dead. You need to time your jump forward to avoid both the fire bar and the flame blasts. This is, by far, the most difficult single screen of the game so far.
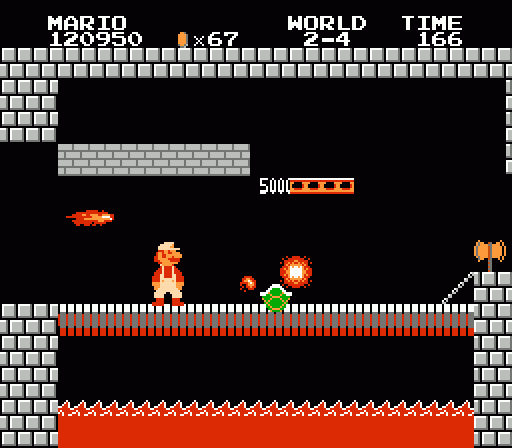
As you near Bowser, he continues churning out his breath of fire (making him quite the opposite of Capcom), even as you have to traverse more chasms of lava. Eventually, you’ll get a little relief as a depression in the floor opens up and lets you progress well below the range of the flames, but the reprieve is brief and you really need to haul it to get there in the first place.
And even the final encounter with Bowser offers less clemency than the first. While he behaves the same as before, a low-hanging row of bricks occludes half of his chamber. You have the same goal as before — hit the axe to cut away the bridge, or bombard him with fireballs — but it’s much harder to simply sail over him with a mighty leap, as the bricks extend almost all the way to where he patrols. And if you choose to stand off and hit him with fire, you’re likely to hit your head on the bricks while evading low flames. Bowser battles will grow far more difficult than this in the coming worlds, but this is your first hint that these face-offs will not be mere cakewalks.
And should you manage to fry Bowser, it turns out he was just a magicked-up Koopa Troopa. Hence the inevitable Mushroom Retainer ahead.
The way you worded that second to last sentense makes me think the boss battles in Yoshi’s Island, where a Magikoopa enhances a regular enemy, probably were inspired by these fights with fake Bowsers.