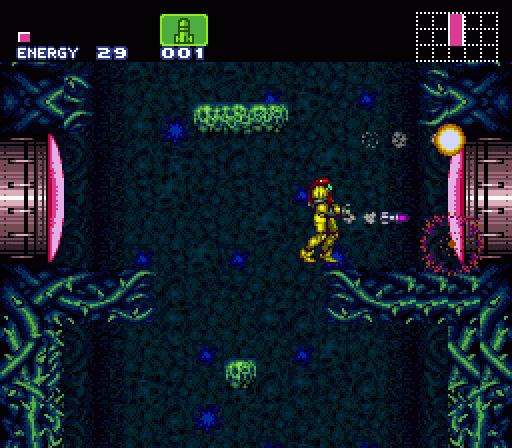
The freaky statuary room proves to be a dead end, so there’s no way forward but down. Samus takes the back door into Brinstar, and the linear tutorial phase of the game effectively comes to an end.

The elevator from Crateria to Brinstar leads to a tall vertical shaft, a classic Metroid trademark. In this game, however, they serve a different purpose than in the original. The quirks of Metroid‘s technology and level design resulted in a map that alternated between horizontal and vertical rooms, while Super Metroid operates under no such constraints. Its chambers vary wildly in size, layout, purpose, and mechanics.
As such, shafts are no longer interminable padding. Instead, they work as hubs, central areas from which multiple paths branch away. In most cases, certain rooms leading from a hub can’t be fully explored or passed through at first encounter, so as you gather the ability to navigate the world the shafts offer a convenient central point to return to. This branching hub-and-spoke approach helps Super Metroid work as a backtracking-heavy action game far more effectively than countless games that followed in its footsteps without really stopping to consider why Super Metroid works so well.
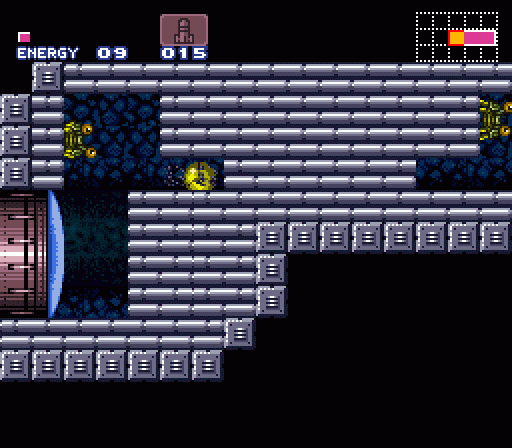
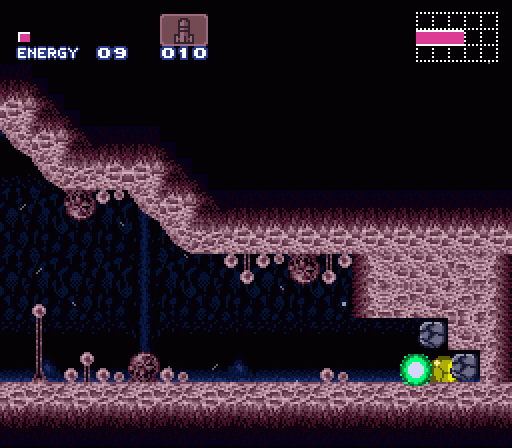
As an example of this, the first room to the right in Brinstar’s entry shaft contains a mechanism that can’t be cleared right away — the ground crumbles beneath Samus, and even if she runs faster than the ground breaks away, a series of doors descend to block her progress so that she’ll eventually fall through. It’s a tantalizing teaser that you’ll need to return to later once Samus has upgraded her skills… but it’s not a total loss even now. Once you fail and fall, you can collect a missile expansion as a sort of consolation prize.
To the left is another map room hidden behind a secret passage. “Secret” passage, I mean. Super Metroid is really quite scrupulous about providing hints for where you should bomb and shoot to reveal passages and pathways. In this case, the design of the room leads you to a conspicuous dead end that simply begs for you to search for some kind of trick.
Even more helpfully, destructible walls and floors are marked with icons that you can reveal by hitting them with the wrong weapon. In this case, the floor can be shattered with a Super Bomb (which won’t be acquired until much later in the adventure), but hitting it with a missile or regular bomb will strip away its camouflage and reveal an icon appropriate to the weapon you need. And this discovery isn’t left to chance, as you can see a creature moving around beneath the floor. Naturally, you’ll be enticed to break through the floor to see what else is down there, and though you can’t get down there just yet the icon shows you what you’ll need to advance. That icon may not mean much now, but eventually you’ll learn what it represents and can use that knowledge to break through to a new area.
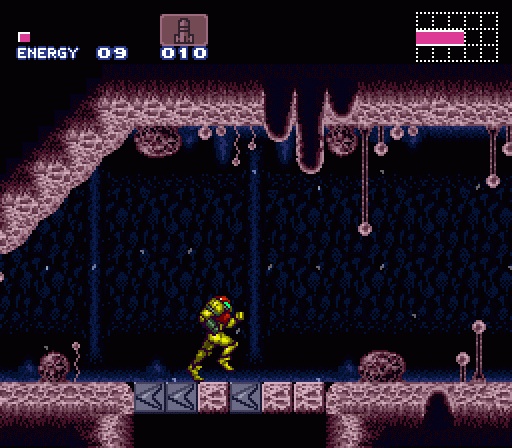
To the lower left, you’ll find a room populated with small firefly-like creatures. As you shoot them, the room grows darker, eventually reaching a point where you can only see the barest edges of platforms and run the risk of missing a jump and falling into the spikes below. The fireflies are inconveniently placed, but they don’t represent a threat to speak of — they don’t attack you and, unlike pretty much any other creature in the game, will actually be destroyed if you bump into them. So they’re more of a danger if you shoot them than if you just leave them be — your first taste of the fact that not every creature you encounter in Super Metroid is necessarily dangerous, and that sometimes the optimal way through the game isn’t to shoot everything in sight.
Ultimately, though, only one of the rooms connected to the opening shaft leads to the bulk of Brinstar. It, too, appears to be a dead end, but as ever the game provides a subtle but effective hint for the route forward: The wall at the dead end has a rounded appearance at its front edge which is mirrored at the back edge. So even though your forward progress seems to be at an end here, an attentive player will pick up the hint that there’s a second portion to this room and bomb through the wall, which crumbles away.
Past the brittle wall is another obvious “secret” path: A hole in the ground covered by tiles that don’t match up to the surrounding ground. But you don’t have the ability to break through whatever this tile is, so it’s another thing to file away for future reference.
Ahead is large vertical room that functions somewhat like a shaft, though its design is more convoluted. You enter towards the middle and can either head to the top or bottom. Going down is the smarter move, since it allows you collect the Charge Beam (which makes the path at the top much easier), but it’s really up to you. Super Metroid is slowly unreeling its level design, moving away from the opening area’s gentle linearity in favor of allowing players to make more concrete choices. This section of Brinstar offers a binary choice, though the extent of where you can go from here is limited enough that there’s not quite enough rope being offered to allow you to hang yourself.
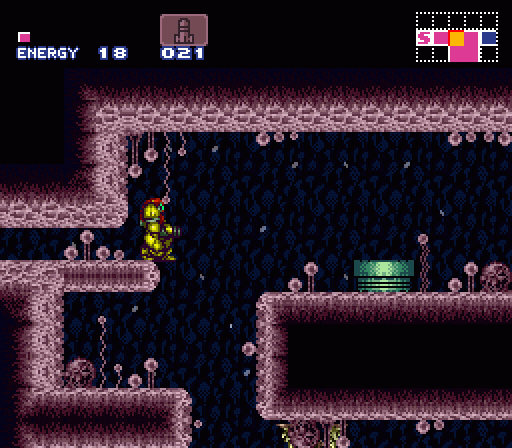
You’ll encounter two oddly colored doors in this large room, one green and one yellow. Like the mystery icons, you can’t break them open yet; they’re details to take note of for that far-flung day when you’ll be able to smash your way through Zebes however you like.
At the top, a save room has been hidden away — but, again, conspicuously so, with the “secret” tucked away behind a conspicuous block in a small tunnel you can roll a short ways into. The hidden elements will become progressively less obvious throughout the course of the adventure, but as with the exploration you’re being eased into things.

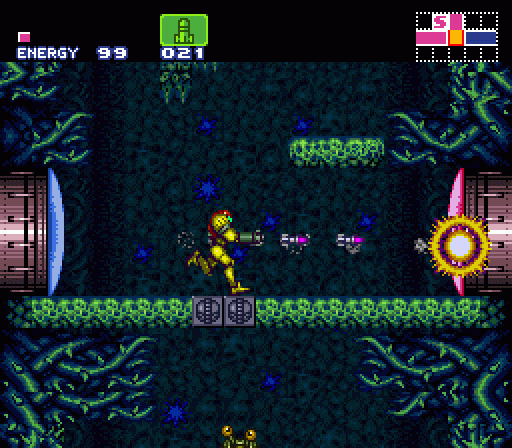
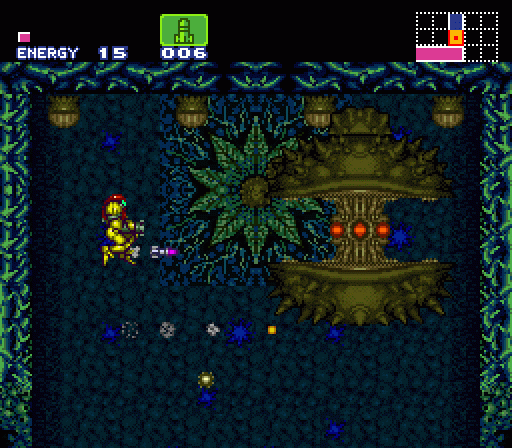
At the top of the large chamber, opposite the save room, you’ll encounter a new foe called Kihunters. These guys are reminiscent of Space Pirates, and they soak up a bunch of damage while hitting pretty hard. Using the Charge Beam makes these guys much less difficult, though you can also fall back on missiles.
The Charge Beam is a quintessential piece of Super Metroid design, incidentally. On its most basic level it functions much like Mega Man’s Mega Buster charge attack — you hold down the fire button to charge up an attack that’s several times stronger than a basic shot. The charged beam can damage enemies that resist Samus’ basic cannon but without expending resources like the missiles do.
However, there’s more to the Charge Beam than that. Super Metroid‘s design hallmark is subtle, complex design that also manages to not to be too esoteric to be of use, and the Charge Beam fits that definition perfectly. If you jump with a shot charged up, Samus’ armor acts as a sort of conduit, giving you an ersatz Screw Attack — though without the all-purpose invincibility of the proper Screw Attack. You’ll take damage from any enemy that the pseudo-screw jump doesn’t destroy (it’s only as strong as a Charge Shot, so tough foes like Kihunters are trouble), and the effect wears off once you hit an enemy. And if you duck into a morph ball while your beam is charged up, the charge is negated as you drop a spread of five bombs. This is situationally useful only rarely at best, but it’s an interesting ability nevertheless.
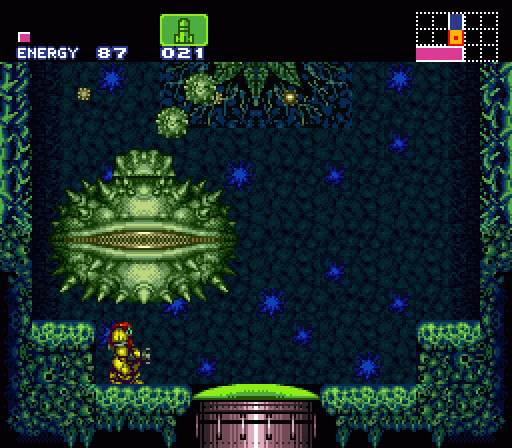
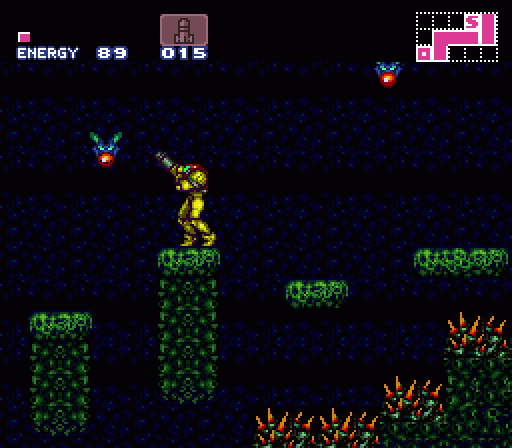
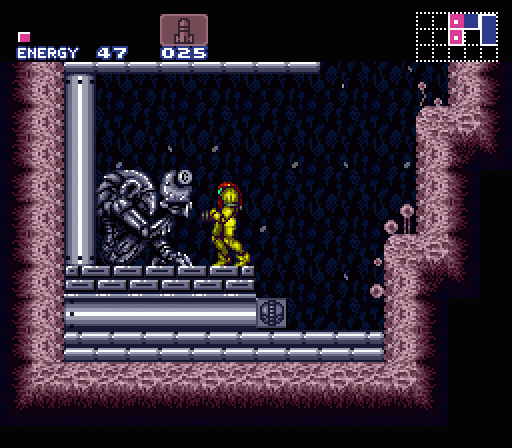
Beyond the Kihunters is Super Metroid‘s second boss. Actually, Kraid and Ridley were originally known as mini-bosses, and Spore Spawn here isn’t even at their rank (it doesn’t appear in the boss pantheon statue setup). So… mini-mini-boss?
Spore Spawn isn’t tough at all; it moves in a simple pattern and its only direct attack is he movement of its pendulous lower body. It does rain spores down from above, but they drift gently and if you shoot them they usually drop item pick-ups with which to replenish Samus’ energy. Really, this battle serves as a quiet tutorial for using the shoulder buttons to aim at an upward angle while ducking — if you duck in the corners of the room and tuck into a Morph Ball when it swings near, Spore Spawn can’t hit you. The spores it releases can, but they drift by moving at 45-degree-angle zig-zags, so as long as you return to a ducking position and aim at an upward angle, you’ll be able to take them out.
Spore Spawn is invulnerable except when it stops and opens its “maw,” exposing a vulnerable core inside. You can blast it with missiles to damage it, and if you happen to run out of missiles you can also use charged shots. The one tricky component of this battle is that Spore Spawn (but not its spores) moves faster the more damage it takes, so near the end of the fight — when you’re probably about out of missiles — you run the risk of running out of ammo and taking damage when trying to collect missile refills from the spores.
Once Spore Spawn is defeated, it withers and dies. This causes the entire room and several surrounding chambers to turn brown as well. Congratulations, you’ve just annihilated a portion of Zebes’ ecosystem. (This will become a running theme in the game.)
And all I can think about right now is the music from this section of the game. It really sticks in my mind, especially the bit from right after you kill the Spore Spawn.
Maybe it’s just me, but I can’t figure out what the creature in the Charge Beam graphic is supposed to be. A four-legged crescent moon?
@RT-55J
I think it’s Om Nom® from Cut the Rope.
@RT-55J @MightyJAK Naw, it’s Sandman from SMT (http://megamitensei.wikia.com/wiki/Sandman), crawling on all fours while carrying the icon on his back.