Up until this area with the battle against Spore Spawn, none of Samus’ new collectibles have diverged from the powers she acquired in Metroid and Metroid II. The Charge Beam offers the first new touch of variety, but it’s not until after you’ve devastated Zebes’ underground ecosystem by murdering Spore Spawn that you really get to the good stuff: Namely, the Super Missile.
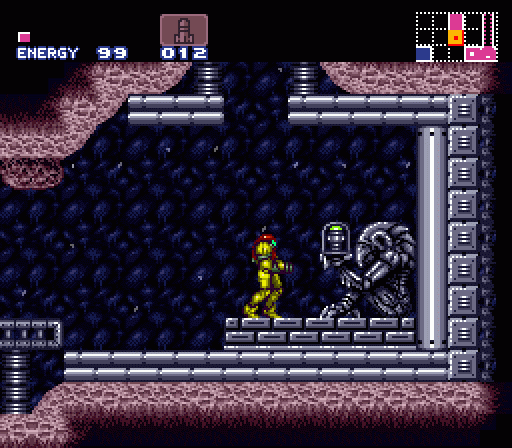
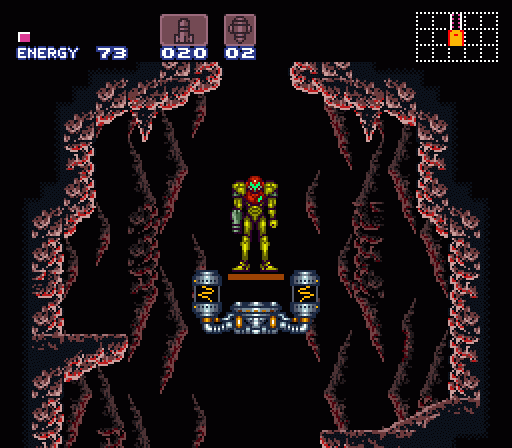
As its name would indicate, the Super Missile works an awful lot like the standard Missile, except that it’s far more powerful. It’s capable of opening a red door in a single shot, and it can also crack the mysterious green doors you’ve encountered (such as the one at the bottom right of the large chamber leading to Spore Spawn). In combat, the Super Missile can destroy a good many enemies that take multiple standard Missiles in a single shot, and they move somewhat faster than their weaker counterparts. That power comes with a trade-off, though; not only do fewer Super Missile expansions exist in the game, but the refills enemies drop only replenish two of them at a time.
The Super Missile also has some interesting side effects, one of which you discover in the room adjacent to the pick-up. The only way to leave the rooms beyond Spore Spawn is to apply a Super Missile to a green door leading back to the main chamber, and when you strike the door the entire room shakes. This causes a couple of creatures that had been crawling around on the ceiling (hidden behind scenery) to become dislodged from their perches and drop to the ground. The Super Missile’s seismic effect is something you’ll rarely need to make use of, but it can come in handy at times. And, once again, the game subtly and silently gives you a tutorial for the effect by building a demonstration right into the area where you first use your newfound ability.
With a Super Missile or five in hand, you can now move beyond the Spore Spawn area. Now, in theory, you could retrace your steps all the way to the beginning of the game at this point; if you bothered to explore to the right of your ship’s landing area, you would have found a green door on Zebes’ surface. This would be a tremendous waste of time, though. You can advance past that green door and enter the Zebes underground’s eastern portion now… but you can only move a room forward or down, because both paths are blocked by yellow doors that Samus can’t currently crack. Realistically, though, few players would bother to retrace their steps that far when a newly accessible green door sits in wait so much closer to the Super Missile pickup location.
The green door south of Spore Spawn’s chamber takes you into the verdant heart of Brinstar, where flowers bloom and large bees make (yes) a beeline for Samus. The room descends down and to the right. In classic Metroidvania style, you can see a ledge opposite the entryway immediately upon stepping into the room, but it’s inaccessible with Samus’ current skill set. You’ll be able to get there eventually, but for now it’s just there to tantalize you.
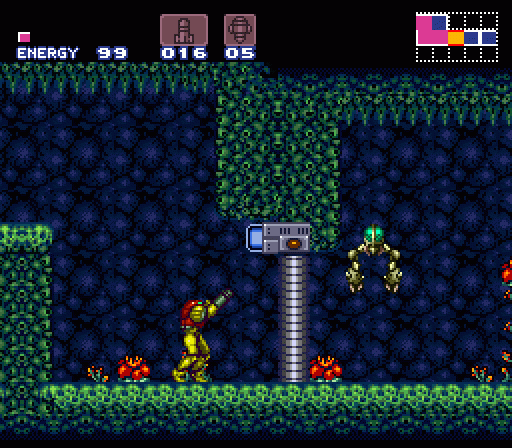
At the lowest point of the green cavern, you’ll encounter a one-way door — well, effectively one-way. It can be opened with a blast of Samus’ arm cannon, but the switch exists on one side only — in this case, the side facing you. Once you’ve moved beyond this door, there’s no going back until you acquire a weapon capable of passing through walls (say, a Wave Beam or something). This isn’t a trap, though; it’s a deliberate design choice that ensures you won’t give up in the room beyond, turn around, and find yourself unable to progress any further into the game.
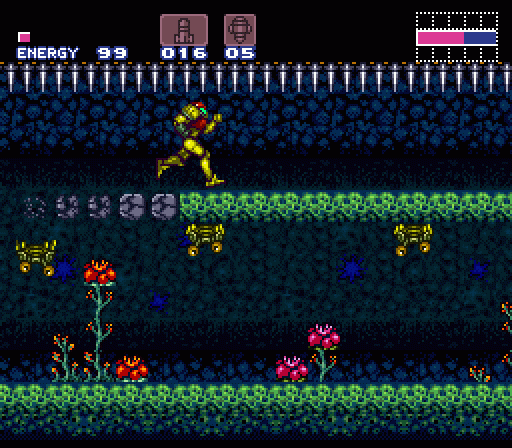
The room past the one-way switch is another raised stretch of ground that collapses as Samus walks over it. You saw one of these before, near the entrance to Brinstar, and there was simply no way to get past it. That’s not the case here. Samus’ innate ability to dash (by holding A, or whatever you’ve assigned as the run button) proves sufficient to clear the ground. However, you might not think to try it if you’ve encountered the previous area (where simply running won’t get you past the descending gates in time). By essentially locking you in here, the game forces you to crack the puzzle and keeps you from wandering off in search of other means of advancement and wasting your time being lost. To ensure you complete the area correctly — that is, by learning to use the dash technique — the designers built a low spiked ceiling over the collapsing bricks to discourage you from trying to clear the section by jumping. You will learn to run here.
Once you’ve sorted that out, you reach the eastern bookend to Brinstar: A tall shaft that works as the initial shaft’s opposite number. It rises out of sight above you, but at this point there’s no way to get up there; the ledges above are too high to reach with a normal jump, and even if you know about wall-jumping the shaft is too wide (and choked with drifting Rippers that get in your way) to bridge that way. You can’t even bomb-jump yourself up, because the platform breaks away when bombed. There’s nowhere to go but down, which you accomplish by bombing some very obvious cracked bricks that simply beg to be shattered.
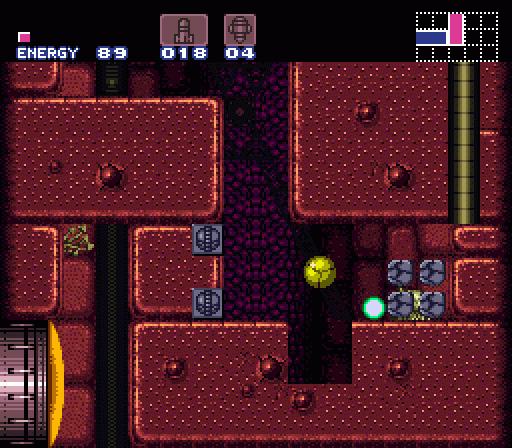
Inside the bricks, you encounter a katydid-like creature that latches onto Samus and immediately begins sapping her energy. Though the drain is slower, it’s an awful lot like a metroid… and it can only be defeated the way a metroid can: By bombing it off you. If ever you needed proof that the Super Metroid team put a lot more consideration into the design of their game than was invested into Metroid or Metroid II, this is it. In the first two games, metroid-evasion strategies were never hinted at in advance, meaning if you got caught toward the end of the game you could easily die simply trying to figure out how to detach a metroid. Not so this time around; here you face an enemy that uses the same parasitic action and features the same weakness as a metroid but poses a much smaller threat. Not only that, but because you have to bomb the blocks that the parasite hides in, you’re already in Morph Ball from and therefore primed to retaliate correctly.
This is, quite simply, one of the smartest incidental details of the game — a seemingly random throwaway encounter that secretly trains you to deal with the deadly threats you’ll face during the endgame. And you thought it was just a stupid little trick encounter.
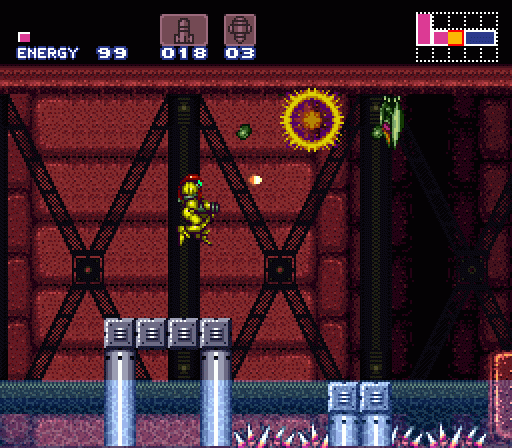
Continuing this sequence’s trend of advancing downward and to the right, you’ll reach a partially flooded area where you discover the dismaying physics of water in Super Metroid: It seriously bogs down Samus’ jumps, reducing the height to which she can leap considerably. Basically, Samus can barely break the surface of the water; so, this area, which looks simple and straightforward, becomes fairly difficult.
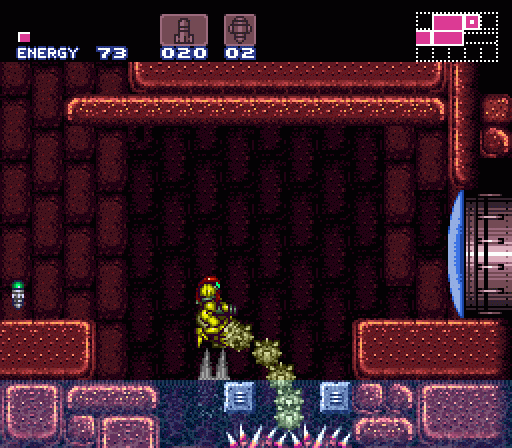
Complicating matters are these creatures that dart from the water to grab Samus and pull her into the submerged spikes the instant she comes into range. It’s not enough to simply deal with the limitations imposed by water physics; you also have to avoid these things.
If you manage to pay attention to Samus’ surroundings while navigating this area’s frustrations, though, you may notice what appears to be a ledge above. This doesn’t lead to another room, but once you jump up there you’ll catch sight of a hidden door above the one at the water’s surface.
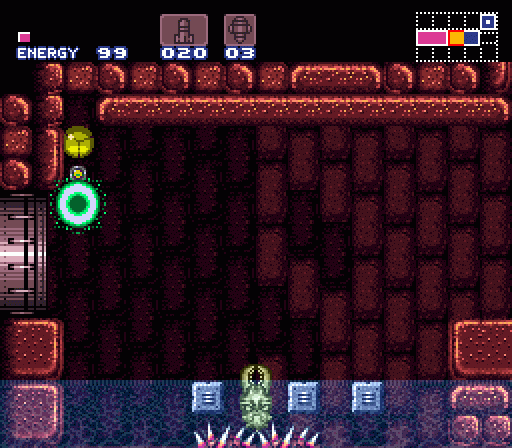
A small amount of experimentation will reveal a hidden passage above the entrance to this room. It’s too high for Samus to reach with her standard jump, but you can make it up there nevertheless. If you really grok the timing of bomb jumping, you can propel yourself that way, with the caveat that the floor here disintegrates when bombed (similar to the floor of the shaft a short ways back). You can also employ a wall jump to reach the upper area.
However you get there, you’ll be rewarded with a Spazer upgrade for Samus’ arm cannon. This works much like the weapon in Metroid II: It fans out into a small three-shot spread that offers slightly more power and considerably more coverage for your basic attack. And if you can’t reach it now, it’ll be there once you snag the High Jump Boots.
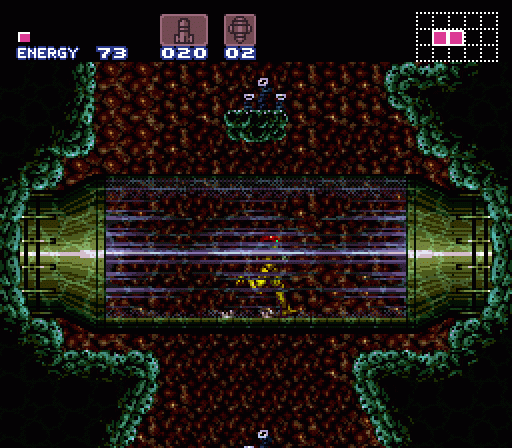
The road forward takes you briefly through this odd glass tube, which gives you a glimpse of what appears to be an underwater cavern. Interestingly, the auto-map (both the mini-map and the full one on the pause screen) depict this as existing in a completely separate zone of Zebes than Brinstar, though you’re only in “Maridia” for three screens before switching back to Brinstar. It’s just a teaser of things to come, but an interesting one; it shows a glimpse of an area that wasn’t in the original Metroid, hinting quite clearly that this really will be a much larger game.
Your return to Brinstar is quite brief, though, as only one screen later you’ll arrive at an elevator that leads you down into Norfair. There’s some potential for sequence-breaking here, but it’s much easier — and better — to take the platform down into the fire zone.
Back in the day I had an Ascii Pad with rapid fire, so I just used that to bomb climb up to the spazer beam. How much work does it take to get good at bomb climbing without rapid fire?
Jesus Christ, finally the next SM anatomy is here! I felt like a drug addict without its fix!
Vega: You can’t rapid-fire your way to a bomb jump. You actually have to time your bomb presses for that to work. Unless you Ascii pad had a slow auto fire option.
I never bothered bomb jumping my way up to the Spazer beam. I think it is far easier and quicker with the wall jump.
I will say that I pulled up the Super Metroid soundtrack and listened to the two Brinstar tracks while reading this. It felt so very appropriate.
For the record, while not easy unless you use save states, you CAN ascend that tall shaft in E. Brinstar. It helps if you use your Super Missiles to remove the Rippers first.
ReyVGM: The Ascii Pad’s rapid fire was pretty rapid, but it never screwed up a bomb climb. I don’t know its frequency, but it was much faster than human fingers could press a button.
You don’t have to rapid fire to bomb-jump. Pressing the buttons like crazy will get you nowhere. You actually have to time the placement of the bombs to trigger the bomb-jump.
Oh man, that bridge. I’ll admit that I was tripped up on that the first time I played the game, but I think I actually managed to get tripped up worse than normal since I wasn’t approaching the game completely fresh.
See, I never had an SNES so I never got to play Super Metroid when it originally came out. I knew about it though and wanted to play it, so when I first got on the Internet the first thing I did was search for Metroid sites and found the Metroid Database, which if it wasn’t the only Metroid fansite at the time, it was certainly the biggest. In any case, I read all their stuff on Super Metroid and basically spoiled myself on the game.
So by the time I actually played it for real and got to that bridge I assumed you needed the Speed Booster to get past it. I didn’t realize that the dash button made Samus run faster even without it.
ReyVGM: I’ve tried to bomb jump manually before. It’s challenging! It does feel strange that rapid fire bomb jumping works since its frequency is so different than what is needed manually, but it worked nonetheless.