First, let’s begin with a correction: I stated a few entries back that the Ice Beam diminishes Samus’ attack power, but that was only true in the first couple of Metroid games. I wasn’t really paying attention and forgot that Super Metroid updates the Ice Beam’s mechanics so that you don’t freeze an enemy immediately upon shooting it; instead, the Ice Beam simply damages enemies until what would be the killing shot, at which point it does freeze your target. This is a far more sensible and effective way of destroying bad guys than the old way, and it’s a great revision.
Secondly, I want to talk some more about the destructible glass tube that serves as a conduit through Maridia. It’s such a wonderful piece of design! The first time you encounter it, you can’t break it; you can only run through it. But that short jog is enough to entice you with the existence of a never-before-heard-of zone of Zebes: You pass out of Brinstar on the map, then back in again, just long enough to get a glimpse of an underwater region through a window surrounded by caverns that appear to be damp with a trickle of leakage through porous rock.
When you return with Power Bombs, you can destroy the tube. You may not realize it your first time through, but later in the game you’ll encounter a similar tube that’s been destroyed as a hint that yes, this thing is fragile. If you do choose to break it at this point, you can (with a moderate amount of effort) explore a small piece of Maridia. Samus moves in a slippery, frustrating fashion underwater, but it is possible to climb up the shaft into which the broken tube opens and explore some of the surrounding rooms. Eventually, you’ll reach an effective dead end — a room where the weight of water combined with a downward flow of sand presses down on Samus to prevent her from making a crucial jump. Eventually, you have to backtrack… and if you drop down a masked pit whose presence is hinted at by all the crabs emerging from it, you’ll find a Map Room for Maridia. Here, you’ll get a glimpse of just how much of the region there is to explore. If you happen to luck into this while trying to figure out where to go now that the game has loosened the reins, you’ll understand quite clearly that this is where you’re to go next.
But first, it’s back to Norfair. While you can roam quite a bit through old ground and find some hidden items once you have Power Bombs and its prerequisite tools, there are still quite a few dead ends that you can’t quite pass over because of large expanses with curious hooks in the ceiling. Eventually, you’ll have to return to Norfair.
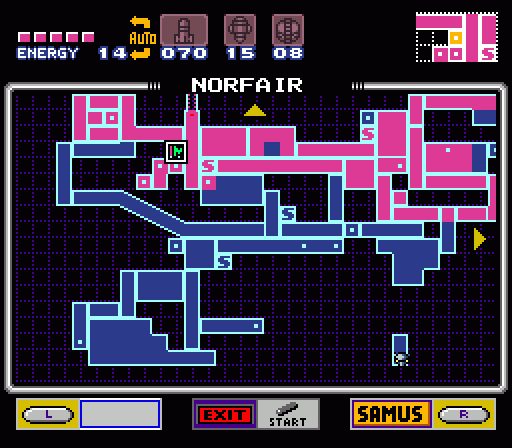
And once you’re back in Norfair, the game applies the same Map Room trick as in Maridia. While you’ve explored a fair chunk of this region already, you can’t help but notice a bright yellow Power Bomb door as soon as you descend back into the area. Inside is a Map Room, which reveals the surprising truth about Norfair: You haven’t seen the half of it.
Beneath the areas you’ve already cased, Norfair contains an extensive series of tunnels and chambers — and if you pay careful attention to the unexplored blue portion of the map, you’ll notice a thinner portion of the outline to the upper left that beckons exploration. This turns out to be the gated chamber that led to the Ice Beam earlier, but now you can break through the Power Bomb blocks immediately after the gates.
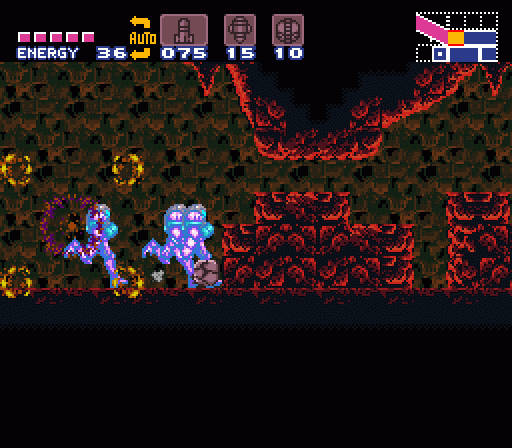
Below, you’ll find a fairly extensive network of rooms that you can explore quite quickly. In fact, you sort of have to, since you need the Speed Booster to break through some of the obstructions here.
Exploring the different doors here will eventually lead you to a heck of a surprise:
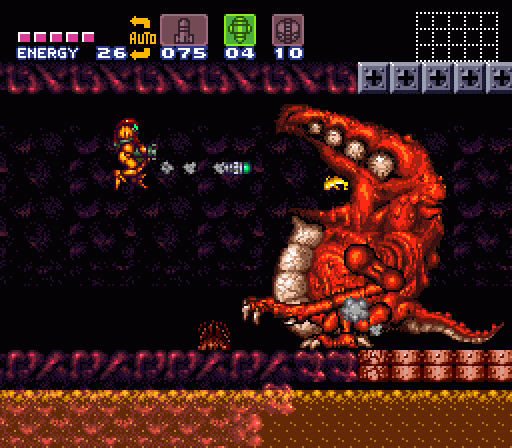
An untelegraphed boss fight that you drop directly into the midst of. Crocomire isn’t just a boss, he’s an indestructible boss. At least through conventional means. His attacks consist entirely of windmilling his arms, stomping forward, and occasionally spitting blobs of whatever it is that giant melty lizards spit. That’s enough, though. Crocomire probably won’t kill you with direct attacks, but there’s a good chance it’ll shove you backward into the wall of spikes that lines the opposite side of its chamber.
You can’t destroy Crocomire with your attacks, but blasting it in the open mouth with a missile (like you did to Kraid) will cause it to recoil and step backward. The battle becomes a sort of puzzle, a push-and-pull fight to knock it all the way backward before it does the same to you (or before you run out of ammo, though you can shoot those barf blobs to score missile refills). Eventually, you’ll be able to push it back onto the fragile-looking blocks behind it…
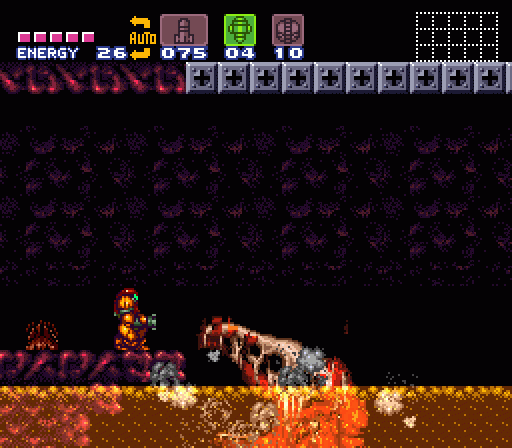
…which collapse beneath its weight, plunging Crocomire into the magma, which burns away its flesh in a surprisingly gruesome sequence considering this is a Nintendo game. Its skeleton sinks into the magma… but you’re stuck here, since you can’t cross this pool of molten rock, the door through which you dropped is locked, and the spiked wall opposite remains in place. But if you look carefully you’ll notice a series of magma bubbles moving away from where Crocomire fell, toward the spike wall — which suddenly explodes as Crocomire’s skeleton burst through it to attack from beyond the grave.
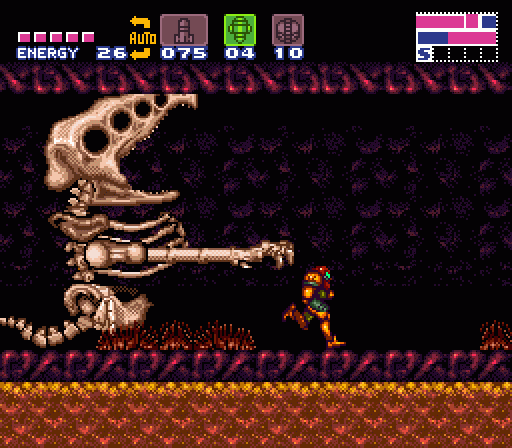
Terrifying! For about five seconds, until the creature’s mortal remains collapse. Apparently necromancy lacks real motive force in the Metroid universe. With Crocomire dead and the wall broken, you’re free to advance.
This sequence doesn’t make much logical sense, but it certainly is cool.
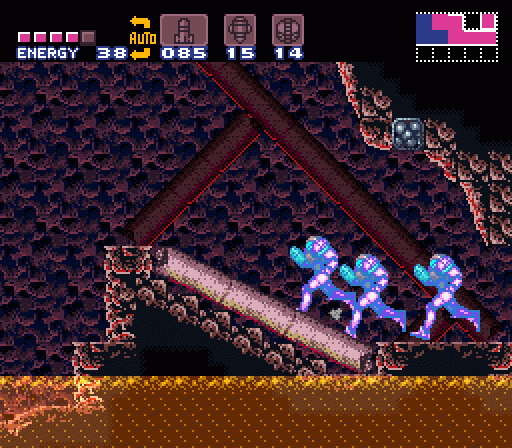
With Crocomire down, you need to uncover a hidden facet of one of Samus’ powers: When you jump while accelerating with the Speed Booster, you jump like crazy. And if you jump while dashing up a slope, you gain both distance and height. You can clear a massive pool of magma in this fashion, ascending to a door on a high ledge above.
This takes you to a major addition to Samus’ arsenal: The Grappling Beam.
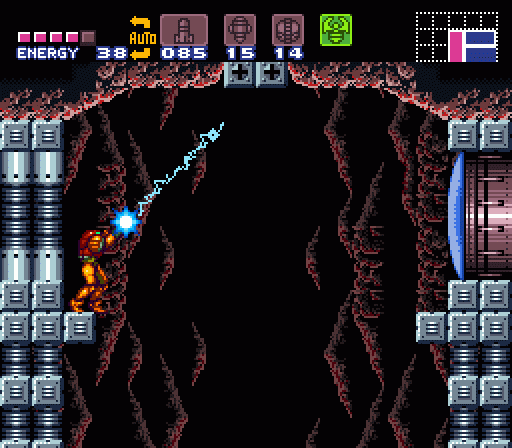
This does not transform Super Metroid into Bionic Commando, but it allows Samus to execute a decent Radd Spencer impersonation. Naturally, you need to use the beam to exit this area. Because that’s how Super Metroid rolls.
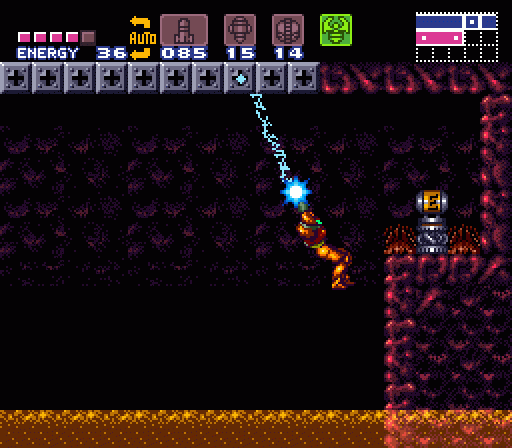
You can now return to all those spots with the hooks in the ceiling to collect valuable resources.
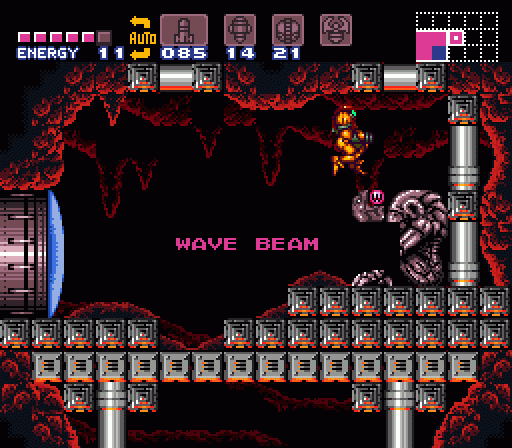
Including the Wave Beam, which now stacks with other weapons to allow your Ice Spazer attacks to pass through walls.
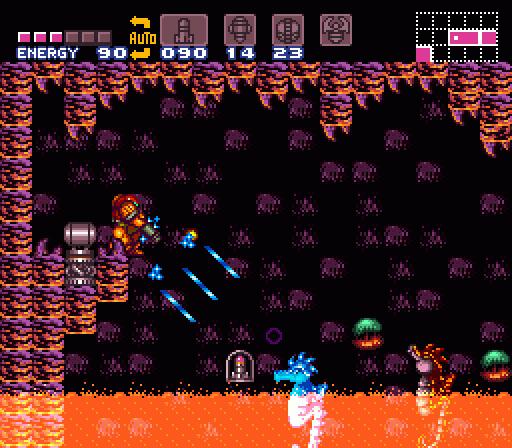
There are tons of goodies to find throughout the areas you’ve already explored, including more of those spots where secrets are hidden behind other items. Here, for example, you can find a Reserve Tank by bombing an obscure tile in the lava next to a missile expansion, which causes a pillar to rise out of the magma to take you to a passage high in the wall leading to a secret room. And hidden in a block near the Reserve Tank is another missile expansion. Again, Super Metroid favors the thorough and enjoys hiding goodies in plain sight.
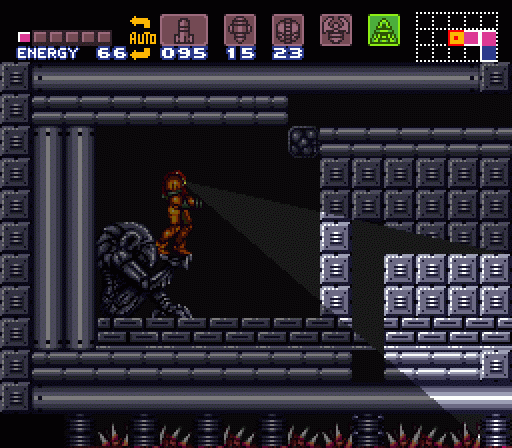
Thankfully, you can now collect an item to help with that process: The X-Ray Scope, which allows you to see hidden passages and items. This item sort of breaks the rules for Metroid power-ups, as the X-Ray scope is strictly a tool with no offensive capabilities that I am aware of. Using it pauses the action, though, so you’re not vulnerable while it’s active. It’s an invaluable asset if you’re going for a 100% completion run… and if you get stuck, too.
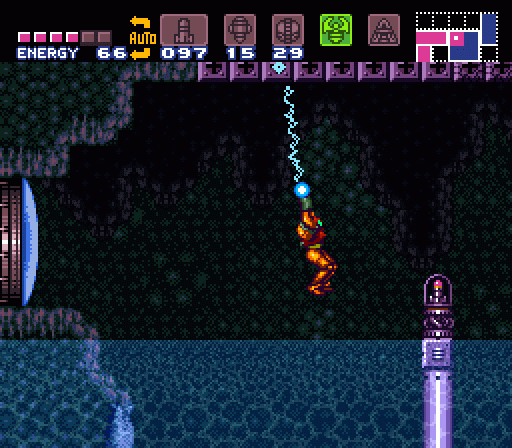
But the real purpose for your new Grappling Beam is to bypass this point in eastern Crateria, where a column rising in the water is too high for you to leap (and where the water prevents you from using sequence-break techniques like bomb- and wall-jumps). Every new tool you’ve collected so far has allowed you to forge your way ever-so-slowly into the caverns to the right of where the game began, but this is where you’re going to break it wide open.
I am sure that eventually there will be comments on how you can use the shine spark to get past certain areas covered in this update before you should. However, thinking about this makes me wonder, how much of the ability to sequence break was intended vs unintended?
Reading these made me feel nostalgic for Super Metroid commercials, and I eventually found this Japanese one: http://www.youtube.com/watch?v=aG6c2JOuGuk
The fact that shinesparking and wall jumping exist in the first place would suggest that they fully intended to allow players to sequence break all over.
One note I would like to add about the Ice Beam: I believe a fully charged Ice Beam shot will always freeze an enemy. I will have to check this just to be sure.
Nope, some of the really huge enemies (giant side hoppers, etc.) just shrug it off.
In my playthough last year, I actually got stuck for a while in the big room after Crocomire. I forgot about the running jump and kept trying to shine park my way up there.
This was the second segment where I got stuck in my first playthrough. I had completely forgotten about the shaft on the way to the ice beam. It did give me the opportunity to spend a couple of hours scouring the rest of the map, so I guess I can’t complain.
@Pip: You asked, “How much of the ability to sequence break was intended vs unintended?” It’s impossible to answer that with any certainty. All that we know is that the game’s developers provided players with several means to do so, and that players have codified, through experimentation, ways to speedrun the game using those means. It is kind of amazing how (as far as I know — someone correct me if I’m wrong), no matter how much you ignore the intended sequence of events, there’s no way to get stuck in the game. I’m not sure how that happened. I can’t imagine that the developers had enough time to make sure of that.
It was funny to return to fight Crocomire after getting the plasma beam, firing a powered up shot at its open mouth, and watching it flash like crazy until it had backed up onto the unstable surface and fell in. Just one shot!
The X-Ray scope is hard for me to accept. Anyone who has gotten far enough in the game to find it clearly understands enough of the design principles at work to not need a helping hand; the scope takes away some the boundary-nudging archeological mystique of exploration; and, like Jeremy notes, it breaks up the standard of Samus’ abilities having two sides. Sure, it’s optional — but it still exists, and that mere presence has an effect on the integrity of the world (just like the maps). I wonder if it was a last-minute addition after concern was expressed by higher-ups about the game’s general level of penetrability.