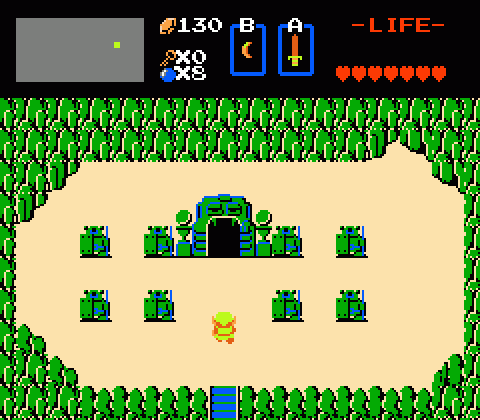
The Legend of Zelda‘s second dungeon ups the stakes a bit. There’s only one room with foes that, objectively speaking, are more dangerous and powerful than any that appear in the first dungeon. On the whole, though, the difficulty level climbs here as you face off against foes that appear in larger numbers and observe more aggressive tactics.
Namely, the Rope. I don’t know why a cobra is called “Rope,” unless it’s supposed to be some sort of oblique reference to snake-charming, but there you have it. Ropes drift slowly in a straight line, usually all the way to a wall, where they make a 90-degree turn… kind of like the mice in ChuChu Rocket, come to think of it. The one caveat with Ropes is that if Link crosses their line of sight, they will dart quickly forward to attack. A handful of Ropes doesn’t pose much threat, but a room full of them can quickly chip away your health as they manage to surround you with their seemingly innocuous behavior and smash into you from multiple directions. It’s a new skill you learn here: Crowd control. Mob management. Aggro something something. I don’t know, I don’t play MMOs.
Anyway, you also encounter a new “puzzle” here: A shuttered door that only opens once all the monsters are dead. It’s even less of a puzzle than the shutters in the first dungeon, but it’s a different form of impediment to your progress and keeps the dungeons varied. (Of course if you’re like me, you kill everything in sight anyway.) I also encountered something in this dungeon that seems to happen randomly in Zelda, and I’ve never really figured out the rules for it: In a room full of Goriyas, I killed one and all the others vanished. Which saved a bit of trouble on the “killing everything” front.
The Moon dungeon — so named because, well — has a surprisingly straightforward layout. The “spine” of the moon presents a path directly from the entrance area to the boss’ lair, and each room branches off to the right to provide optional pickups: The map, the compass, and the dungeon treasure.
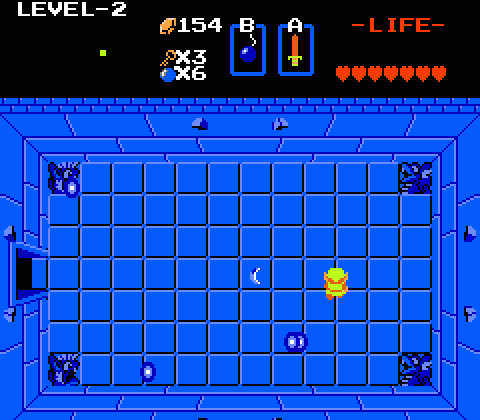
Strangely enough, the treasure in this dungeon is an upgrade to the boomerang you collected in Eagle. This is one of the more curious design decisions in Zelda, giving you an improved version of a subweapon so soon after dropping the basic version. Why even split the two apart? Eagle already had one subweapon in the form of the bow, and once you collect the steel boomerang the wooden one from Eagle will be gone forever. On the other hand, it does mark the first in-dungeon example of enemy tiers — the steel boomerang drops from blue Goriyas, which are considerably stronger and more resilient than the red ones you’ve already faced, so this helps communicate the idea that the color of a creature determines its strength. But since you’ve almost certainly encountered multiple colors of Octoroks, Tektites, and Moblins while hunting for the second dungeon, so it’s not like you hadn’t already put two and two together.
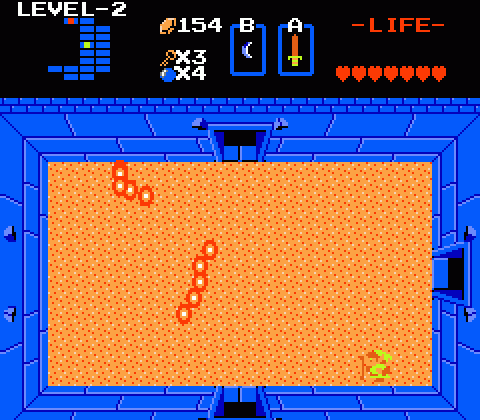
Another odd feature: Moon contains Zelda‘s first miniboss encounter — that is, a special room populated by unique enemies that don’t respawn. In this case, it’s a pair of Lanmolas Moldorms, which are basically worms made of fireballs. (They’re unfortunately less intimidating than that description would suggest.) This encounter is actually kind of pointless, since you don’t have to fight the things to advance. You can just blow on through the room.
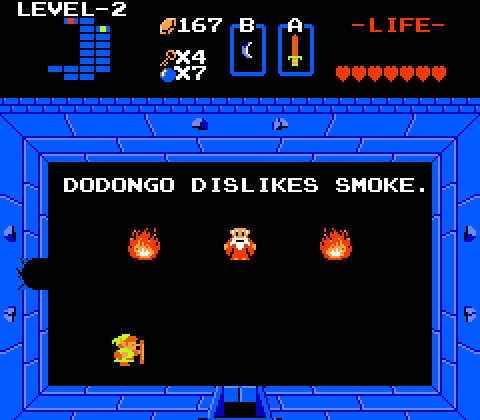
The real boss, a thunder lizard called Dodongo, isn’t far ahead, and the game offers a couple of hints at the trick to defeating it. First is the old dude in the room off to the side who mentions that Dodongo dislikes smoke; second is the fact that the room immediately preceding Dodongo is populated by red Goriyas, which are more likely than any other creature in the game to drop bombs. And bombs do in fact win the day: Drop a couple directly in front of Dodongo and he’ll eat them, eventually dying of heartburn. You can also inflict a sword attack with the bomb’s explosion and score an instant kill, but the timing can be tricky and you only really need that trick when facing off against multiple Dodongos with limited bomb capacity.
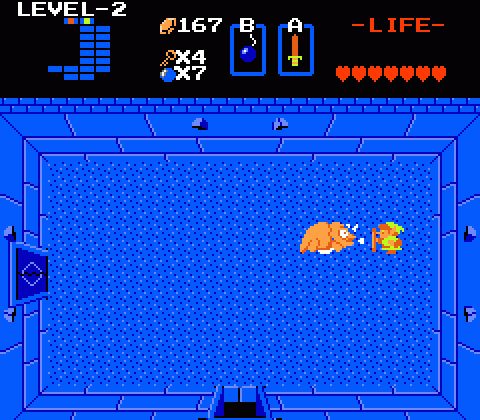
In short, a decent (but not amazing) dungeon that nudges the difficulty level upward in terms of individual room design while actually offering a more straightforward overall layout than Eagle’s.
One Dodongo…Yeah, that was the easy life. Dodongos aren’t much of a threat, but they can be the pickiest things to fight in groups in the original Zelda since bombs are a requirement to kill them. Once they start coming in threes, you can end up burning through bombs quickly and easily until you upgrade your bomb count.
The steel boomerang was one that I actually came back and got later on the first time I played through; I simply assumed that since the enemies there were so strong, I was meant to return after a few levels to deal with them. I was delighted to discover that they dropped a magic blue boomerang for my troubles when I did so.
I also remember being absolutely infuriated with Dodongo’s apparently random perambulations-I’d drop a bomb for him to eat, and he (quite sensibly) would take a sharp turn to the left, leaving the bomb to harmlessly explode near his flank. The first time I defeated him was with the sword strike out of pure frustration and luck.
I’m a little late with this comment, but I always thought the map of the first dungeon looked more like a chicken than an eagle. The part you called the “head” I saw as the wing, and the part I guess you would call the right wing was the head to me.
I never really saw the crescent moon in the second dungeon’s map either. I always assumed it was a headless snake, probably because of all the Ropes.
And I can’t be the only person who found and completed the 3rd, 4th and 5th dungeons before ever finding the 2nd one, right?
All these make me think I’ve come upon socksmakepeoplesexy by mistake. Good stuff, though.
So what you’re saying is that you’re easily confused by basic facts and simple observation.
Yeah, sometimes one enemy in a room will be picked to be the leader, and killing that one will instantly wipe them all out. It doesn’t happen often enough to have much effect on the game. It’s more like a random bonus.
I’m really enjoying these analyses. Zelda 1 is still my favorite.
The steel boomerang could be construed as an introduction to the concept of weapon upgrades, and foreshadowing for the White/Magical Sword.
I just wanted to say that I’m enjoying these posts (including all the Castlevania ones) immensely. Perhaps a theme for a GameSpite issue?
Hell yeah, I’m on the internet.
Yeah, as Sanagi said, Zelda 1 sometimes assigns one monster as a “leader” that kills all the other monsters in the room. I think this is mentioned in the manual somewhere. If I remember right, it only happens in specific rooms - probably rooms the designers/play testers thought might be too hard for new players?
Ah, and here it is:
http://www.zeldalegends.net/gallery/categories/The_Legend_of_Zelda/Manual_Scans/The_Legend_of_Zelda/media/z1manual-07-08.jpg
(hidden in the little info box at the bottom there)
They call them the “ringleader” I guess 😛
Oh, and those are Moldorms, not Lanmolas. You may remember them as the annoying giant worm boss of the third dungeon in Link to the Past that constantly knocked you into the pit.
Warlock beat me to the “ringleader” bit. It’s one quirk I sort of miss.
On another note, this is the first time I’ve ever heard anyone refer to the magical boomerang as the “steel” boomerang. Is this a common term for it that I’ve managed to remain ignorant of until now?
It reminds me of when a friend who helped introduce me to the game called the blue ring “white armor” due to its visual effect. Or when my mother would call Mario’s fireballs “spitballs” (something they’d eventually utilize for Luigi in Super Mario All-Stars + Super Mario World).
And like others, I too am enjoying this walkthrough.
The ropes in the second dungeon drop mad rupees. I always go there to grind for money.