“We are getting very near what is known as the end, if you see what I mean.”
I refuted the surprisingly popular theorizing that Zelda’s levels are scrambled and run out of intended proper sequence in my write-up of Level-7, because it actually does feel like a logical follow-up to dungeons 5 and -6. But Level-8, aka Lion? Man, I don’t even know what this thing is doing here. It probably should have come about two stages sooner. It’s small, only moderately (not agonizingly) difficult, and unexpectedly straightforward. What’s up, Koji Kondo?
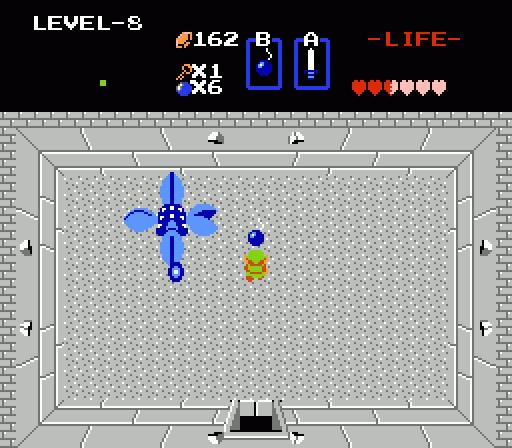
In its defense, Lion starts off well! Two of the three rooms you’re presented with at the very beginning lead to return boss fights with Manhandlas. Beyond the Manhandla to the west is a room full of Darknuts and Bubbles, which leads immediately to a dungeon treasure:
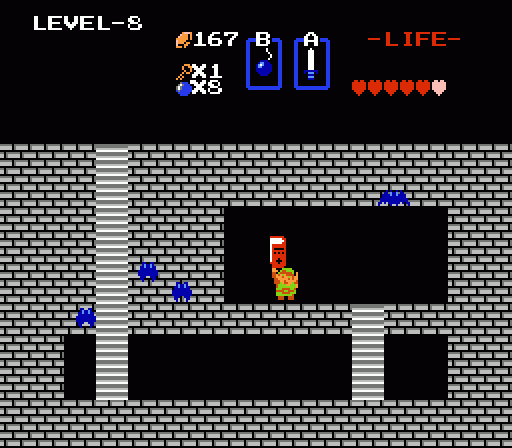
The Bible Magic Book. It’s just sitting there, a few screens from the entrance.
The timing and ease with which you can grab the Magic Book is strange. As an item, it’s great — it makes the Magic Rod incredibly valuable, causing its beam to burst into flames when it strikes either a foe or the edge of the screen. As such, it nearly makes the Magic Candle obsolete, since its flame can light up a room. You know: The Magic Candle you collected toward the end of Level-7. Welp.
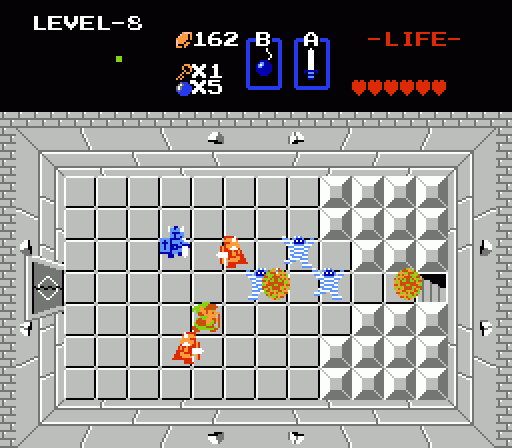
This is about as tough as this level gets. Sure, Bubbles and Darknuts are a gross combo, but you have a plethora of tools to take them down without having to go toe-to-toe without the knights. And the mummy dudes are total fodder for the enhanced Magic Rod, since they keep walking into the flame it leaves behind. They’re not so bright.
The one new hazard here is the upgraded Blue Gohma, which appears twice and takes three direct shots to the eyeball before it goes down versus the red version’s one. Viva la difference.
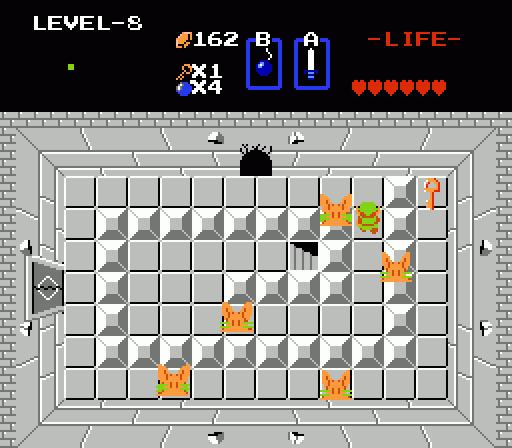
By this point, you should know the trick to Pols Voice. They have a habit of spawning in clusters, so if you’re quick enough you can actually kill an entire room’s worth with a single arrow. It’s kind of hilarious.
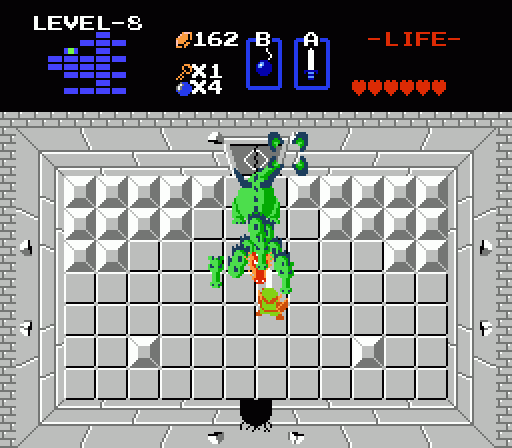
The end of the dungeon is a four-headed Gleeok. Yes, four heads is more dangerous than Level-6’s three-headed Gleeok, but the battle here is actually easier than the last time you faced this guy. Previously, gargoyles in the corner pelted you with fire as you fought, creating a stressful hazard. This time, it’s just you versus Gleeok.
But it’s cool. The next dungeon will definitely be at the far right edge of the difficulty bell curve — appropriately, since conquering Level-8 grants you the last chunk of the Triforce, opening the final dungeon. Well, assuming you didn’t beat Level-8 way out of sequence to collect the Magic Book and the (not-pictured) Magic Key. Technically, the only dungeon treasure you need to complete this stage is the Bow, so provided you have a candle and some bombs you can theoretically topple this level after… what, the first dungeon? The second?
Man, remember when developers let you play games your own way? Good times, good times.
I was going to say that this is why I’ll put Level 6 off until last when I replay it now, but judging from how you have six heart containers here and thirteen on the Level 6 post, you do that as well.
(GO TREASURE HUNTING - SAVE KARY FOR LAST)
These are all screens from VG Museum, so more correctly “the dude who ripped these images does that as well.”
I don’t really think of the Rod’s upgrade as much of an improvement. You go from shooting a low damage beam to shooting a low damage beam that turns into a flame when it makes contact and doesn’t let you shoot again until it disappears. I guess it could be handy for extra damage while stabbing other things, but I mainly stuck to the Magical Boomerang instead because it’s just so great for crowd control against most standard foes.
A key that’s infinite keys is pretty awesome, though. You just wouldn’t see a thing like that outside of the 8-bit days, not when keys serve more as a means to construct a more linear path.
@MetManMas Actually, you’re mistaken. You can fire two beams before the flames die out. That makes it pretty useful for clearing out screens full of lower-level foes or as a backup weapon whenever Bubbles appear. High-level enemies like Wizzrobes and Darknuts don’t take any damage from it, but it’s a life-saver (or shield-saver) whenever you encounter the Like-Like/Bubble double team.
Dang, I missed out on commenting on the last one. =( Well, if nothing else, I loved the map’s reappearance at the southwest end of Hyrule in Zelda II.
I do love beating the levels out of order. I did so just recently just because I could, and to get the Magic Key for the other dungeons.
@jparish Really? I usually stick to the boomerang for LikeLike control, but I’ll have to give the rod’s fire a try once I get the book again.
Koji Kondo? Did he double duty as composer and dungeon designer?