And here our story ends, more or less.
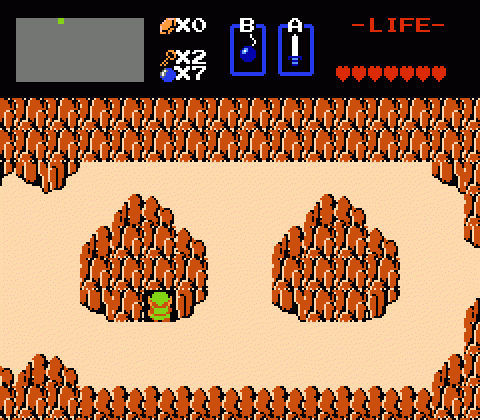
Throughout this series, I’ve looked at the ways The Legend of Zelda balanced total player freedom in an open world with subtle (and sometimes overt) clues on how to advance. The game hasn’t always done a perfect job of it, with erratic spikes in difficulty and a few sections where progression comes down to patience, obstinacy, and blue luck. On the whole, though, I have to commend Zelda not only for being insanely massive and ambitious for a console release of its era, but also for doing a great job of training players in a new style of game play.
However, with its final dungeon — Level-9, aka Skull, aka Death Mountain, aka Spectacle Rock — Zelda has long since ceased to help players along and instead says, “OK, sucker. Let’s see what you’ve got.” The result is the game’s toughest dungeon, bar none. It comprises nearly twice as many rooms as the second-largest labyrinth, and its layout is far more complex, consisting of multiple isolated sections connected only by underground routes.
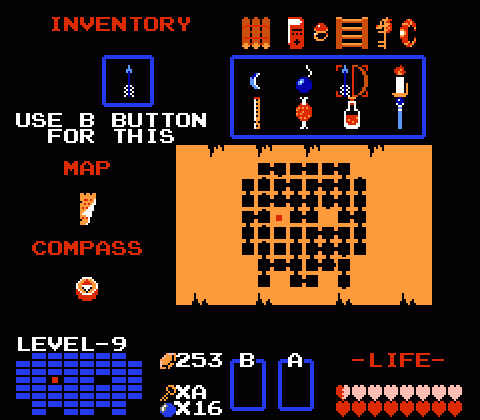
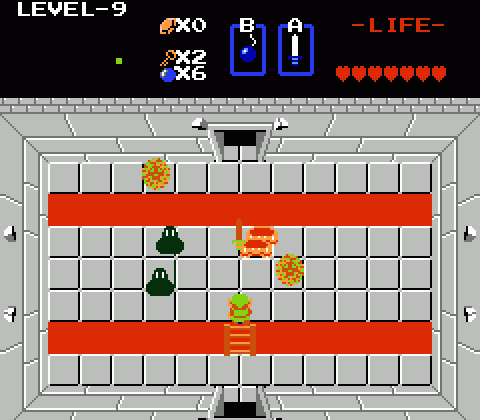
It’s big, and it’s tough. Well, mostly tough. The difficulty is all over the place, actually. Some rooms contain the hated Blue Wizzrobe/Red Wizzrobe/Like-Like/Bubble combination, and they’ll make you hate life. But others contain nothing but Zols or Gels or Vires, which seem laughable at this point. Unfortunately, the bulk of the enemies here have a very frustrating tendency: They don’t drop many items. Wizzrobes are the grand exception to this rule, often leaving behind bombs (or even health, if you’re lucky); but for the most part, you won’t reap much of anything for your trouble.
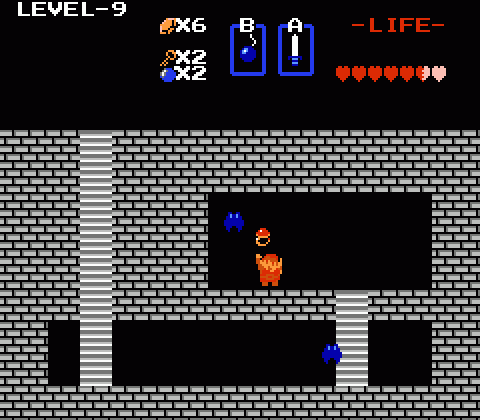
Level-9 contains two treasures, one of which you absolutely need in order to complete the game. The other is technically optional, but it’s practically necessary: The Red Ring, which reduces the amount of damage Link takes from enemies to a mere 25%. Without the Red Ring, those Wizzrobe rooms will whittle you down in a hurry; with the ring in (or on) hand, you’ll fare far better. In fact, once I acquired the Red Ring, I went from fighting a war of health attrition to steadily gaining health. Of course, it helped that the game decided to start dropping more health pickups at that point. Thanks, random number generator. It also doesn’t help that I played this on 3DS Virtual Console; much as I like the 3DS its D-pad really sucks compared to the NES’s.
Given how powerful it is — really, once you snag it, you can basically blast through the dungeon to the very end without a hiccup — the Red Ring is suitably hidden. It’s actually “outside” the map… which is to say, the dungeon appears in the shape of a skull, and while the eyes obviously contain non-mapped rooms (the compass blinks in the left eye to indicate Princess Zelda’s location) the Red Ring is hidden in the northeast corner in the negative space of the skull’s upper “curve.” You might not think to bomb that wall, even though half the passages in this stage have to be opened by force.
Apropos of nothing, I made a dumb mistake in my playthrough: I didn’t bother to pick up the Magic Key in Level-8. “I have a bunch of keys left over,” I figured. “Who needs it?” And then I got to a bunch of dead ends with locked doors in Level-9 and ran out of keys. So that was cool, leaving and starting the dungeon over. Fortunately, the Magic Whistle has a trick: Blow it while facing east and it will whisk you progressively to each dungeon entrance. Blow it while facing west and you’ll cycle through the dungeons in reverse order. So to get from Level-9 to Level-8, face left, use the flute, and hey presto.
Level-9 isn’t completely without its handy pointers. Despite its size and complexity and the prevalence of hidden passages, Spectacle Rock has a single friendly occupant within — an old man who tells you, “Go to the next room.” Since you enter his chamber from the only available door, it therefore becomes pretty obvious that he’s not saying, “Turn around, kiddo.” So you have a pretty strong clue to bomb open a hole… which, in fact, takes you to the first significant underground passage leading into the true depths of the dungeon. It’s just a hint of, uh, a hint — enough to nudge you in the right direction before leaving you entirely to your own devices.
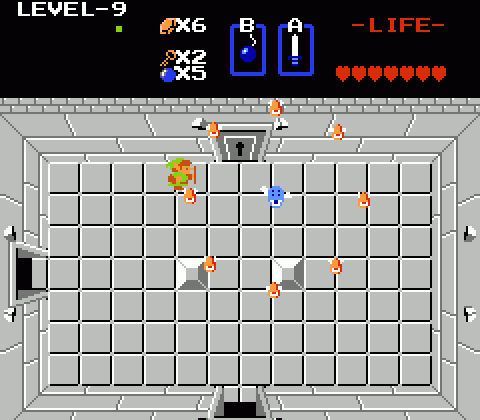
Deep within the labyrinth, Ganon has one final miniboss to deal with: A new creature, a bee-like creature called Patra. There are several Patras in this stage, and while they’re not insanely difficult they require some caution. A Patra is a core creature surrounded by a ring of smaller yellow bugs that revolve around it and switch their movement between three different patterns. Each smaller Patra-ling requires two hits with the Magical Sword, so you can’t just stand there and smack them as they approach — you have to stand at the edge, predict their movements, and hit more furtively.
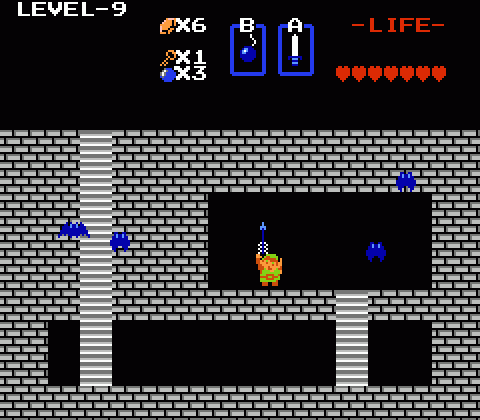
The game’s final treasure is the Silver Arrow, without which Ganon can’t be defeated. This isn’t tucked away anywhere near as securely as the Red Ring, but it’s still not directly along the game’s critical path, which means you can very easily make it to the final room without a means to defeat the final boss. There is no way on earth Nintendo would ever allow you to do that in a modern game, and I can’t say that’s necessarily a bad thing: The first time I ever faced Ganon I cycled through every weapon in my inventory, but the wooden arrows just wouldn’t do it.
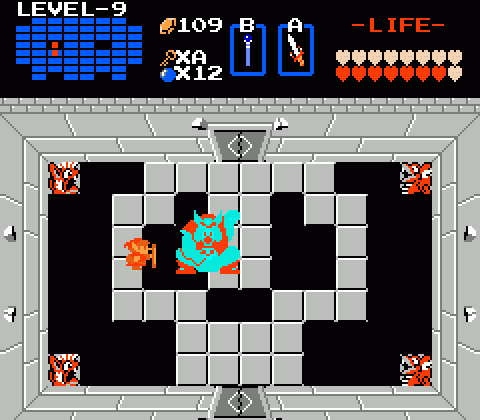
The Ganon battle is simple and cinematic: He lives in darkness, which the Triforce illuminates, causing him to shrink away from its radiance. Then he vanishes, teleporting around the room in a circular pattern; your only means of fighting him comes by tracing back the origin of the fireballs he shoots at you. Even then, it’s hard to know exactly where he will be jumping to, so you have to stab air and hope for the best.
Each time you hit Ganon, you briefly see him (he’s a fat blue pig-man wearing boots and what appears to be a skull-faced T-shirt — basically he’s one of the gross metalhead dudes who sulked in the corner of my junior high P.E. class). The fourth time you strike him, he becomes stunned, locked in place for a few seconds. This is your cue to whip out the Silver Arrow and fire it at him, at which point he dies instantly, turning into a pile of dust with the Triforce of Power sitting on top.
Game over. You’re the hero of Hyrule!
You know what the best part of the ending is? The credits roll contains a whole seven names, and one of them is Hiroshi Yamauchi, who we can safely say has never done a second of game design in his life. That means this groundbreaking adventure was conceived and crafted by a mere half a dozen people. Think on that as you’re enjoying the 10-minute credit sequences ofBlack Ops II or Assassin’s Creed III, eh?
But we’re not done yet! The game begins again, with new secrets and more devious dungeon designs. We won’t be exploring the Second Quest in full detail, but it offers enough new tricks to merit some consideration. Thanks for reading this far, and please look forward to the fresh hell of the Second Quest.