Oh, so you managed to survive the gauntlet that is Area 6 of Bionic Commando? The stage that serves the same “do or die” road bump as, say, Shin Megami Tensei: Nocturne‘s Matador battle? Nicely done. Welcome to the rest of the game.
The travel pass you acquire from Area 6 has exactly one use in the game: When you equip it before entering Area 14, the Neutral Area adjacent to Area 6, you can get past the guard at the entrance. Inside Area 14 you’ll find a new communicator, which you have to take possession of in order to cross the wide map line between Area 6 and Area 8 and the other eight stages it leads to. This is the back half of the game, the second set of stages… although in truth you only have partial access here. You can’t travel to Area 10, which sits immediately beyond Area 8, until you’ve completed a few tasks in the three stages accessible at this point.
Area 8 basically serves as the central nexus for the second half of the game. It connects the interior of the Badd Empire to the first half of the adventure, and from Area 6 it branches to several different stages: Area 10, the entry to the final sequence of the game; Areas 7 and 9, one of which is the prison where Super Joe is located; and Area 19, an isolated Neutral Area.
While it might make numeric sense at this point to head to Area 7, you’ll immediately find yourself stymied there by another barrier that can be shattered only by a weapon you don’t have. So instead, let’s look at Area 8, where dialogue has suggested Super Joe may be hidden.
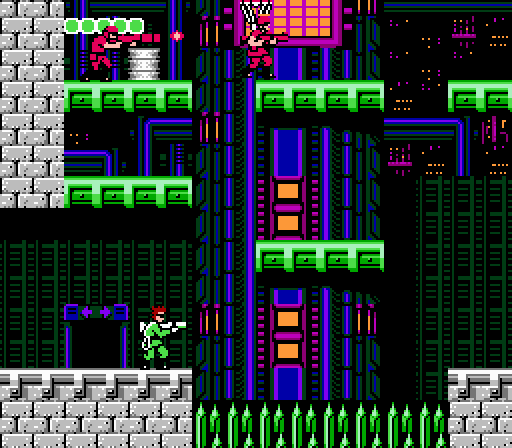
Where previous outposts you’ve faced have been fairly rough-hewn military structures, Area 8 has a higher-tech look. Clearly you’ve reached the heart of the Empire, and this stage reflects that progress. Not only does this appear to be a computer command center with systems and lights and wiring stretching off into the distance, but it’s the most complex layout you’ve yet dealt with (consisting of several different interconnected areas that can be traversed however you like). On top of that, it’s absolutely crawling with enemy soldiers: Paratoopers, grenadiers, drone commanders, and even automated defenses.
To wit, a modest new threat in the form of these cannons, which serve as barriers in narrow corridors. The twin guns move back and forth vertically along the central pole, firing alternately high and then low, as the pole itself traverses the passage slowly on a horizontal path. You have to hit this device dead center to destroy it, which can be difficult as it moves along its two axes, but you can’t pass through the connective corridor until it’s gone.
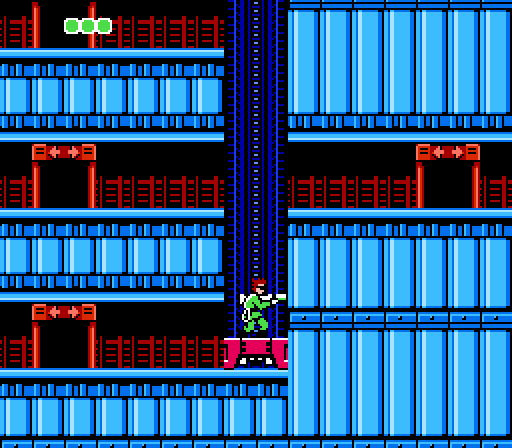
“Connections” is the theme of this stage in general. The level consists of three main areas connected by several different passages, some of which are decidedly intricate. You can easily get lost in this stage, so combing it door-by-door is definitely the way to go. The boss door won’t open until you’ve visited both of the communication rooms scattered through the level, which means there’s potential for considerable backtracking as you try to sort out the layout of the area.
It doesn’t help that the door connections don’t necessarily make sense in contiguous space; for example, the upper-left door in this screenshot takes you to another elevator shaft that resembles a taller, mirrored version of this one. However, the door below it leads back to the opening portion of the stage, and in that area the door all the way on the other side of this one is a door leads to the mirrored elevator shaft as well. Confusing, right? It can be a real chore to keep track of, though fortunately the boss door is fairly obviously located in that mirrored elevator area — it’s the single locked door in the entire level. Once you locate it, you’ll have to go searching for the comm rooms and then remember your way back to the locked door, which can be a little tough to manage in such a confusingly laid-out area.
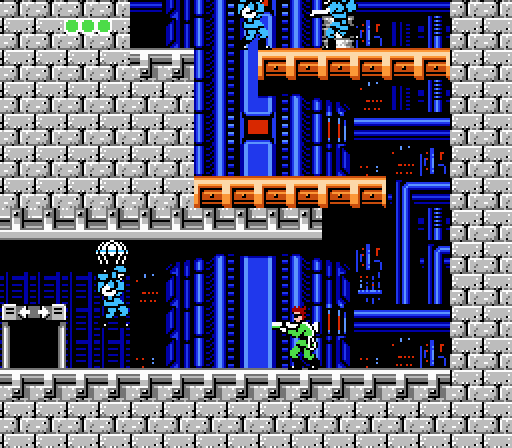
The largest single section of the stage has multiple exits, and the path to reach them is guarded by a constant onslaught of paratrooper grenadiers. Unlike the standard soldiers from the opening portion of the stage, the grenadiers behave far more aggressively. They scurry back and forth while unleashing a rapid flurry of bombs that fly up in an arc and roll along the ground before exploding. The bombs run on a timer, so you can pass through them safely before they detonate, but they explode with a fairly wide area of effect. It can be tough to avoid the bomb detonations when you have several grenadiers attacking you on multiple levels.
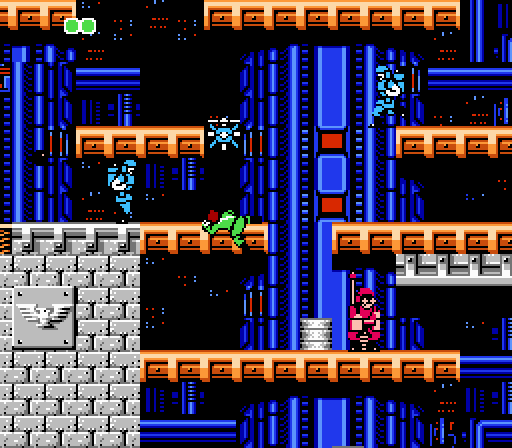
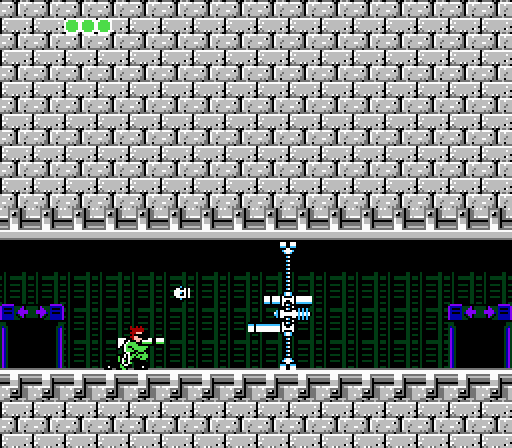
A handful of drone pilots occupy key points in the stage to further complicate things. As in Area 6, the level is laid out so that you approach them from different directions; depending on how you traverse the stage, some will be above you (and therefore somewhat easily dealt with) while others will appear below (and therefore much harder to take on safely as their flying devices attack you). Combined with the constant attacks by the grenadiers, the hazards in this stage can be fairly difficult to predict.
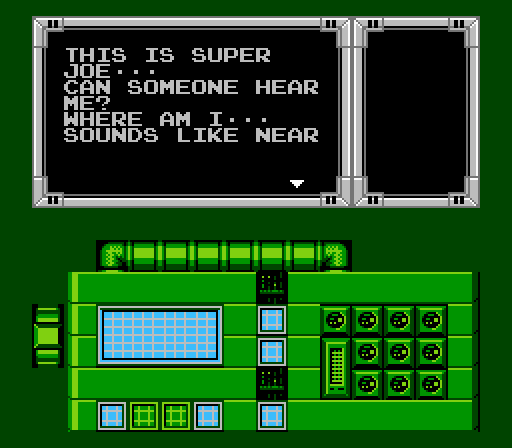
While you won’t find Super Joe in this stage after all, you can wire-tap to get a fix on his direction. He’s “near the ocean,” which sounds helpful until you look at the stage map and realize most of the levels in the game are near the ocean. Oh well.
You can reach the second comm room (which contains the Super Joe transmission) from either of two directions, and the lower route is definitely the trickier one, requiring you to deal with spring tiles and moving platforms. On the other hand, your helicopter crew somehow manages to air drop a lunch box to you, so that’s nice.
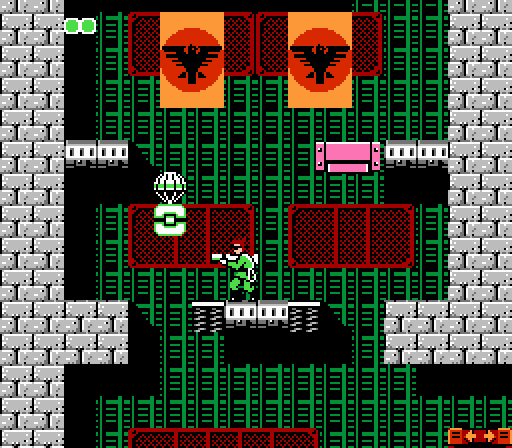
There are a lot of differences between the U.S. and Japanese versions of the game, but this area has one of the more visually significant ones: In the Japanese version of the game, those eagle emblems were swastikas. There’s a little something lot in removing the concept of a resurgent Nazi empire from the story mix, I think.
At this point, you’ve dealt with all the different kinds of boss rooms available in the game, so once you manage to navigate your way through the required checkpoints and take out the reactor, there are no more surprises. About the only difference in boss rooms from here on out are slightly elevated difficulty levels from time to time.
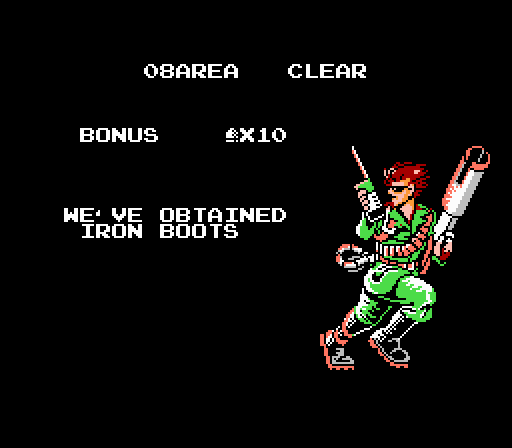
The reward for Area 8 isn’t essential, but it’s nice: Iron Boots, which allow you to eliminate bad guys by swinging into them. Normally you simply send enemies reeling when you swing into them, but now you can kick high, and hard. On the other hand, this requires you to swap out the Energy Recover Pills, so Iron Boots are more of an expert-level perk for players who are confident in their Bionic Commando skills.