Once you’ve rescued Super Joe, he mentions a guy called Destroyer-3 in Area 18. This answers one of the weirder questions of the game, which is, “What’s with all those ‘Destroyer’ dudes in Area 18?”
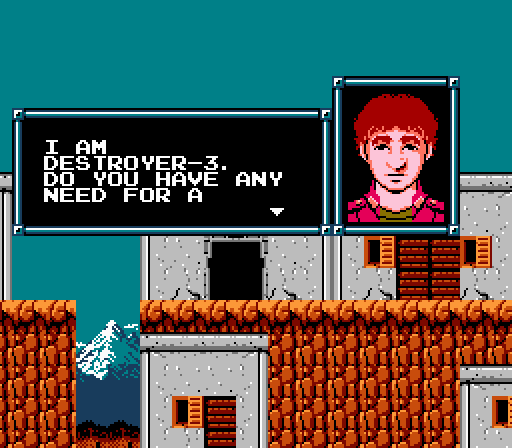
If you happen to enter Area 18 before completing Area 7 and rescuing Joe, you’ll find these three guys — Destroyer-1, Destroyer-2, and Destroyer-3 — who ask if you have any need for a machine gun. But if you say yes, the other two Destroyers will vanish, and the room they stand next to will be empty… unless you skip the first two Destroyers and talk to Destroyer-3, who will cause a machine gun (the final selectable weapon of the game) to appear in the room he guards.
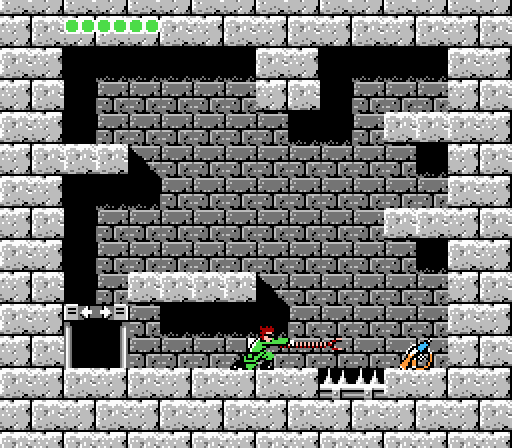
As it turns out, this is Joe’s person weapon, which for some reason he entrusted to some serially numbered guy in a random Neutral Area. This could help explain why Joe got his sorry butt captured. In any case, Joe’s gun works like an amplified version of the Wide Gun you acquired back at the beginning of the game; instead of simply firing a trio of bullets, it fires a spray of five in a raking arc similar to the spread of the Wide Gun. It has roughly the same range as the Wide Gun, so you’ll probably have to do a coin flip over whether or not it’s actually more effective in combat than the Rocket Launcher, but at short range it’s incredibly powerful. Enemies don’t really have recovery invincibility, so they take the full spray of five bullets and go down fast. It’s especially handy for fighting those giant cyborgs who have to be shot in the face, since it lets you hit them without having to grapple up and time a shot as you drop.
You can actually acquire the machine gun before Super Joe, if you know to talk to Destroyer-3. This makes the rescue of Super Joe in Area 7 much, much easier… but of course your first time through the adventure, you wouldn’t acquire the weapon except through dumb luck.
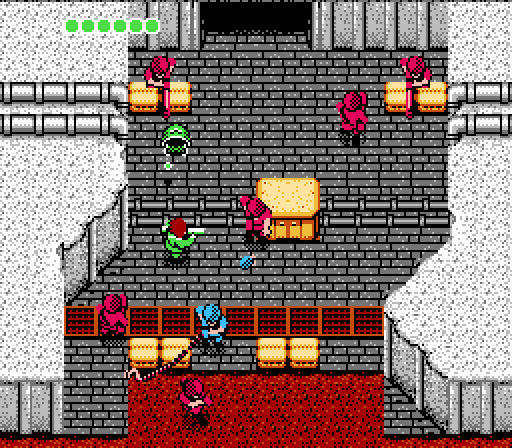
The one place in which the Machine Gun rises indubitably above all other weapons is in the top-down zones. Since enemies tend to cluster and approach from oblique angles (as opposed to the platformer levels, where most encounters happen in cardinal directions), its spread of bullets does a brilliant job of crowd control. The other spread weapons are also useful, but they lack the stopping power and sheer offensive presence of Joe’s weapon.
This makes sense, of course. The top-down zones work as a callback to Commando, which was of course Super Joe’s best-known adventure. Obviously he would have a gun that’s particularly effective in that sort of scenario.
There’s one last loose end to be wrapped up before advancing into the Empire’s inner sanctum: One of the hidden tunnels that was revealed by an agent in one of the latter Neutral Areas contains a Helmet at its far end. If you collect this, it works as an upgrade to the cross (please do not ask about the theological ramifications of this), deflecting three bullets instead of just one. It’ll soon be obsolete, but hey.
The hidden tunnels also feature the Empire’s final attempt at replicating the bionic commando program: The enemies carrying the Eagle logo that grants Captain Spencer the ability to continue upon dying take the form of bionic officers. They don’t do much besides swing their bionic arm around, though this can be a huge inconvenience as their arms have significant range and work just like your own arm does in these top-down encounters. Still, like all the Empire’s augmented troopers, these guys fail to fully replicate the full bionic commando package and go down pretty easily.
With Super Joe rescued, the road to the final trio of stages opens at last. But, once again, one area remains closed to access: Area 12, the final level of the game. In order to open it up, you need to conquer Areas 10 and 11. At this point, though, you’ve forged your skills in the fires of hell. These zones feel like a joke compared to Areas 6 and 7.
Which isn’t to say they can’t still surprise; even at this late stage in the game, there are still new threats to be discovered. Area 10 begins with a small army of roving laser cannons that slide across the ceilings and fire constant blasts of energy at 45-degree angles. You can theoretically squeak past the barrage with good timing, but you’re much better off just zipping up to the ceiling and blasting the things. You don’t even need to go to that much trouble if you bring one of the multi-directional weapons with you; you can just shoot them from the ground.
Beyond these cannons are several slightly tricky sequences in which you have to perform consecutive swings in order to reach safe platforms and advance. Unlike in previous scenarios like this, you’re not given much latitude for failure. If you miss, you’ll land on spikes and die. In other words, here at the end of the game, you’re expected to perform advanced maneuvers on your first attempt. You’ve had almost a dozen stages’ worth of training, and here you have to demonstrate your worthiness.
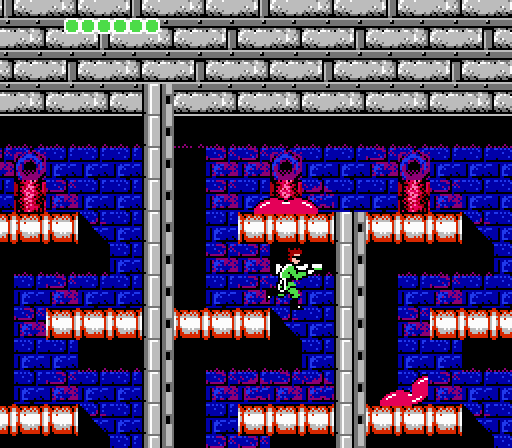
Further ahead, the slimes from Area 3 make a return, except they’re in much more confined spaces that make them trickier to deal with. The low platforms here mean you can’t simply zip to safety with the grappling arm, because your feet will still be planted on the ground, and the next slime blob to inch along will pull you loose and drag you along with it.
But actually you want that to happen: The bottom portion of the middle shaft here has a low-hanging spike that you can’t walk through safely. Instead, you need a slime to pull you along beneath it while you duck. Then, as soon as the slime starts to double back, you need to grab the box immediately ahead of Captain Spencer to pull him free from the slime, then grapple immediately up to the overhead platform before the slime returns to carry you back through the spike. And once you’ve cleared that challenge, you’ll have to use a second box to wrench yourself free from a glob of goo before it drags you into a bed of spikes that lines the floor. It’s a great example of a previous game mechanic returning at the end in a far more complex and challenging form.
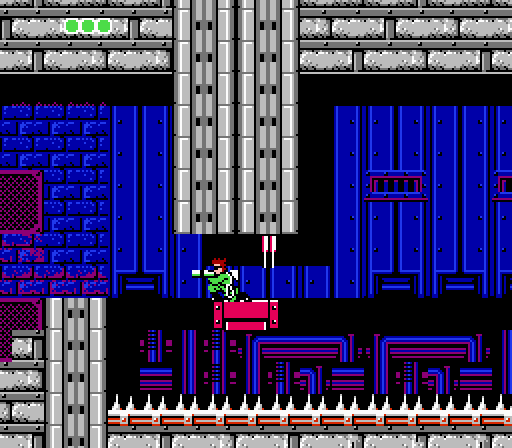
With that accomplished, the level still isn’t finished. You have to swing onto a moving platform above a floor of spikes (which is a bit of a “gotcha,” as you don’t immediately see the platform and may think you need to perform multiple consecutive grapples to advance — though do so will inevitably prove fatal). While riding the platform, you need to duck again to avoid another low spike, then dash to the safe ground to the left during the split second that the platform bumps against the far wall. As before, what would be a fairly straightforward challenge in previous stages becomes an unforgiving test thanks to the high penalty for failure.
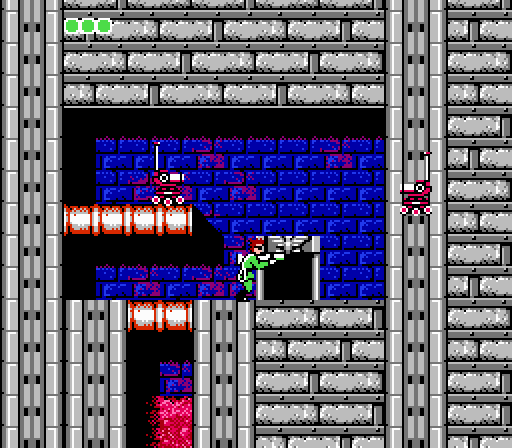
The final leg of the journey requires you to simply grapple up a narrow shaft while remote control tanks rain down and attack. These are generally pretty harmless since most of them drop through the walls and will only begin to patrol if they hit the floor. I suppose not every scenario is a guaranteed hit.
Interestingly, none of the hazards here are human enemies. Even the boss is one of those big robots that announces its intentions to attack the intruder (you) before you destroy it. You’d think the enemy would be represented in larger numbers here at the heart of the Empire, but given the deadly flooring, what appears to be a massive reservoir of slime leading to the boss room, and the rough-hewn look of the place… maybe this is meant to be the “back entrance” through the sewers or something. Kind of like the bowels of Skull Castle in Mega Man 2.
Capcom always has had a thing for recycling good ideas.
Another hopefully-helpful tip: You don’t even need the slimes to carry you beneath the spikes; the bionic arm is long enough to reach the box from just in front of the spikes (you have to be crouching, of course).
Ah, true, good call. I always just let the slime drag me along.