The second block of Dracula’s Curse introduces a few new elements to theCastlevania franchise. For starters, it’s a wholly optional stage; at the end of Block 1, you’re given a choice of paths to pursue. The lower path offers a roundabout path along the outskirts of the lake surrounding the castle, while the upper path — which leads to Block 2 — goes directly to the castle. This turns out to be too good to be true, though, which means this set of stages is effectively optional. Simon’s Quest had its share of dead-end spaces, but those were minimalist spurs from the main path. This is an entire stage.
And it’s more than that, actually. It’s an entire stage that you travel throughtwice.
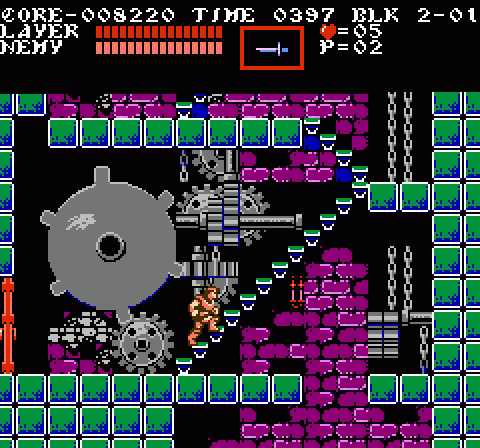
Not only that, but it also reinforces for Castlevania vets just how not-messing-around the game’s difficulty is. Here you are at the second stage and you’re in a clock tower — the setting for the original Castlevania‘s final stage. Granted, the challenge level isn’t nearly that high… but it’s no slouch, either.
Block 2 is also a chance for Konami to flex their tech muscles, too. The first-ever clock tower looked great, especially for a 1986 game, but this one will make your eyeballs pop out of your skull and spin around in tiny circles of awe. Right from the beginning, the massive cog wheel rotates smoothly. The stage is quite busy-looking, but the color scheme helps create distinct visual separation. This turns out to be quite important, because you actually need to use certain gears as platforms; the active “foreground” gears look different from the ones that are merely window dressing.
Also new for the series is Block 2′s entirely vertical orientation. In every area of the Castlevania series to date — save the three-screen climb through the cathedral in Block 1 — verticality has strictly been used as a link between horizontal paths. Here, the opposite is true: When you move horizontally, it’s simply to reach the next set of stairs or staggered platforms upward.
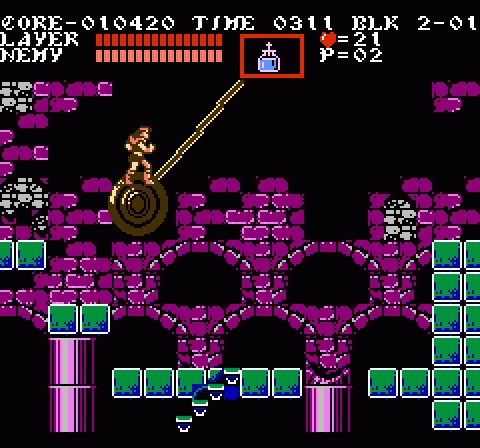
And the game keeps the horizontal movement interesting, too! Here, you ride massive clock pendulums as they swing left and right. The first pendulum gives you some grace: You jump from the upper-left platform, and should you miss you’ll land safely on the ground below. It also gives you a safety net for the dismount: If you miss the raised area to the right, you’ll almost certainly hit the two blocks below them. For the second pendulum, however, you have no such luxury: Miss a jump and you’ll plummet to your death. As with the spinning platforms in Block 1, Dracula’s Curse introduces a new hazard with a chance to master it with little risk, then flings you immediately into the deep end to sink or die sadly.
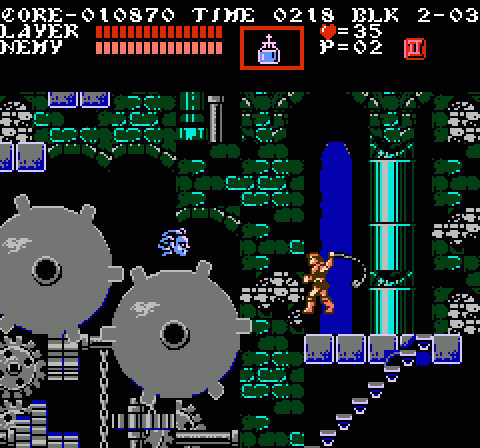
On either side of the pendulums, you meet the first of Dracula’s Cursepermanent additions to the Castlevania legacy: Medusa Heads antagonizing you as you navigate the clock tower. These foes were annoying enough in the original game, and they were tricky in Block 1. But here, Medusa Heads find their natural environment. There’s something about their undulating sine-wave pattern that combines perfectly with the uncertain footing and vertical traversal of a clock tower to be utterly infuriating. Climbing across the rotating gears would be tricky enough on its own, since you’re moved along the circumference of the gears as they turn, but add to the need to jump to advance on the gears the rising-and-falling motion of the constantly respawning Medusa Heads and you have a few guaranteed collisions whose recoil will send you flying backward.
The first few screens in which you face the Medusa Heads, recoil will send you onto a safe platform. After that, though, you’ll plunge into a pit… or worse, onto instant-kill spikes imported directly from Wily’s castles.
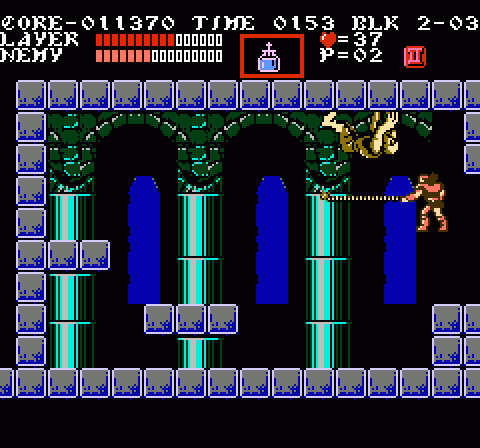
At the top, you face a boss, the Ghost Pirate. It’s super easy, moving slowly and predictably. Its one tricky maneuver is hop up onto the ceiling and stalk you from above, dropping when it’s directly overhead. This is a lot easier to deal with than when Super Mario bosses do the same thing, though, because Trevor can easily take an Axe into the battle and chuck it right into the Ghost Pirate’s face. After the tricky tower, this encounter is mercifully easy.
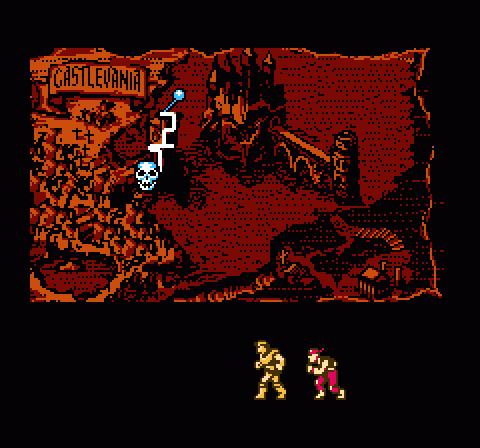
Win the battle and something super crazy happens: The Ghost Pirate turns into a normal-looking dude, Grant, who can team up with Trevor. This becomes a major element of the game; press Select and you can instantly swap between heroes. Each protagonist has a distinct combat style, and the added flexibility they bring to the game largely justifies the spike in difficulty. In Grant’s case, he can cling to walls and ceilings, jump extra high, and even adjust the arc of his jump (Mario style) in mid-air. In tradeoff, his weapon has pitiful range and is as weak as Trevor’s basic whip; he takes an extra block of damage from enemies; and the only sub-weapons he can use are the Dagger and the Axe.
And you immediately get a chance to put his skills and weaknesses to the test, because the tower begins to collapse. The bridge connecting to the castle falls, and you’re forced to retrace your path up, descending to the bottom of the tower. You’re playing the exact same challenges, but now in reverse. This is also new and different for the series; sure, you backtracked a fair amount inSimon’s Quest, but that game wasn’t a series of platform challenges in the way that Dracula’s Curse is. It focused simply on basic traversal, getting from point A to B and back to A again without any real focus and complexity in between. Here, you have a stage laid out to be tricky regardless of the direction you’re walking, which requires particularly thoughtful design.
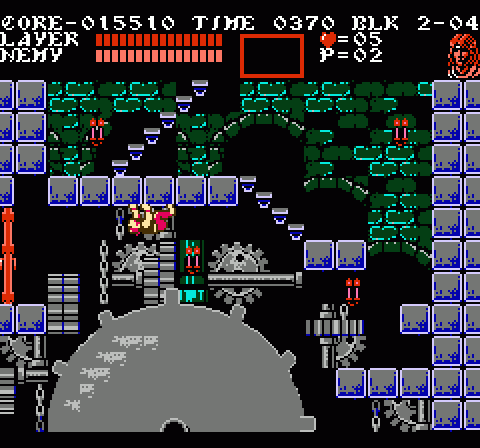
It’s actually a fair amount easier going down, since you can often just drop to a lower platform rather than having to struggle and climb. Of course, you do need to take care not to plummet into a pit or onto spikes. But generally, the way down isn’t as tough as the way up was, which gives you a sort of safety net for testing Grant’s unusual handling properties.
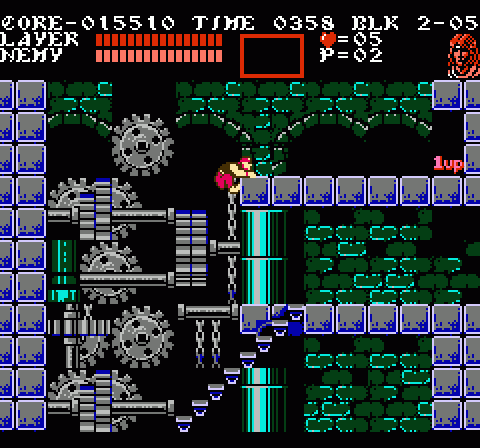
For instance, reaching seemingly innocuous alcoves where secrets lurk.
Unfortunately, Grant can often be more trouble than he’s worth. As fantastic as it is to control such an able, nimble character, his controls on unconventional surfaces can be extremely difficult to use reliably. You’ll sometimes fail to corner properly and, rather than shift from a wall to a ceiling, instead find yourself dropping to your death. Whoops.
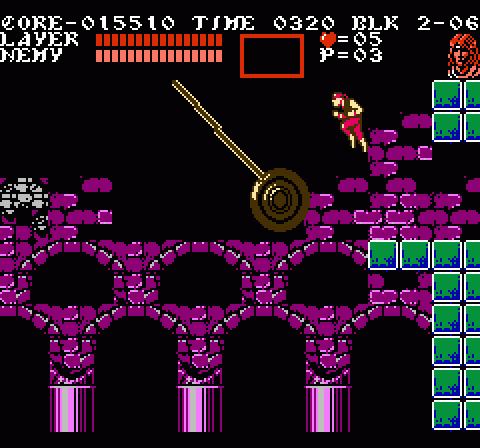
And Grant’s high jump arc can cause its own complications: You’ll often bump his head on overhead obstacles that Trevor can clear without an issue, which can in a worst-case scenario cut your jump short and send you plummeting into a pit. On the other hand, when Grant has a wide-open space to work in, he’s great. Fine-tuning jumps in mid-air totally changes the nature ofCastlevania‘s gameplay. Grant ultimately proves to be less versatile than Trevor (not to mention a lot less durable), but the second half of Block 2 offers a useful gauntlet of opportunities to get a feel for his relative strengths and weakness. It’s impressive to think that Block 2 doesn’t just teach you valuable level design lessons once through, but also on the way back down.