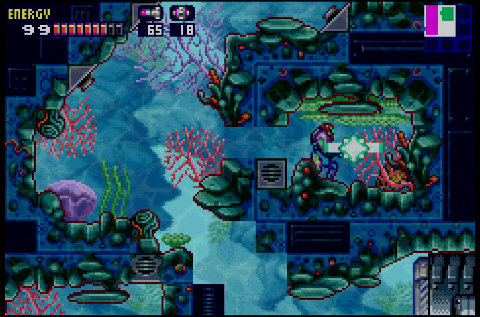
With the Gravity Suit in hand (not literally), unsurprisingly the next phase of the game takes you back to all the underwater areas you couldn’t proper explore last time. This comes much later in the game than Maridia did in Super Metroid, where you acquired the Gravity Suit at the midpoint. Here, you have only a handful of power-ups remaining.
Although! The game certainly isn’t shy about gating your progress with those last few skills. You may be near the end at this point, but there’s still plenty of potential power locked behind walls of icons you don’t have the power to destroy yet.
You continue to make connections between different areas of the space station by alternate routes — service passages and other corridors. In addition to making the game more interesting to navigate, it also helps lend a sense of empowerment even though you’re really just going by the game designers’ prescribed route. Adam’s directives always plot you back through the main elevator space, punctuated by a patronizing reminder of how to repeat paths you’ve traveled a dozen times, and making these connections behind the scenes feels like an act of rebellion. You’re breaking the rules by way of carefully curated and meticulously controlled world design.
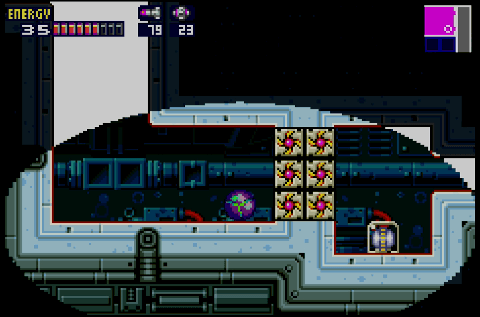
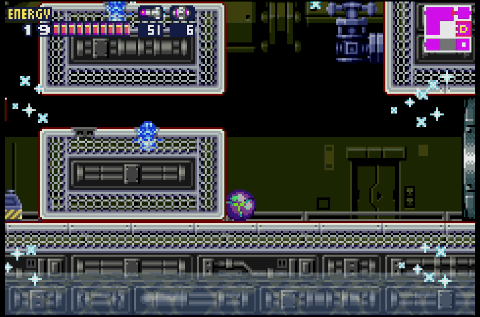
The flooded areas of the station contain numerous callbacks to Maridia, and survivors of Samus’ previous adventures will almost certainly intuit certain hidden secrets here. Such as what happens when you detonate a Power Bomb inside a glass conduit underwater…
Yeah that’s right.
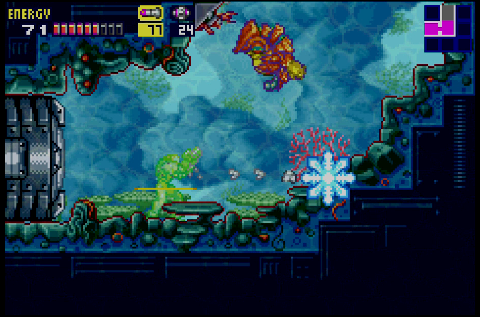
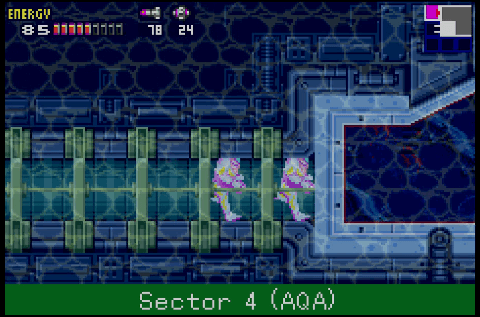
A number of creatures make a return from Super Metroid as well, such as the little baby versions of Draygon. In keeping with the theme of the game, though, these familiar creatures always require new techniques to defeat and can behave in surprising ways.
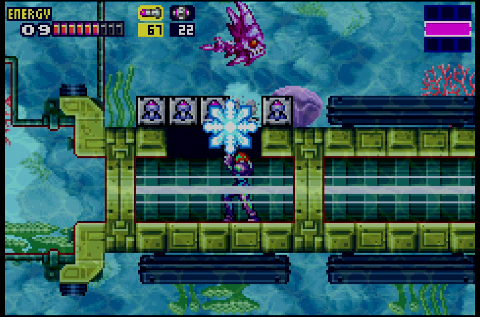
The glass tube-busting tactics aren’t just a fun shortcut in Fusion the way they were on Zebes; in fairly short order, you’ll cover all the “official” areas on the map and find yourself stymied by red Level 4 security doors. The only way to advance is to go off the grid, as it were, and map out new areas on your own. You’ve ventured into green portions of the map a number of times by this point, but this is the advanced version of the technique, the 301 course. You have to sniff out the secret areas all on your own, and even then simply “going green” isn’t enough to advance — you have to puzzle through a couple of tricky rooms, too.
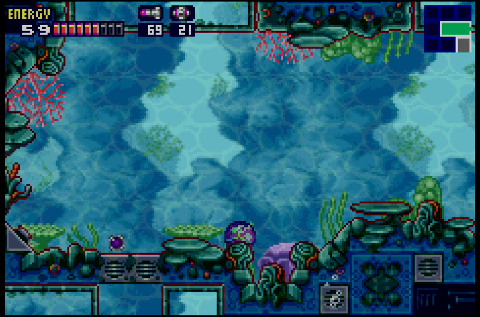
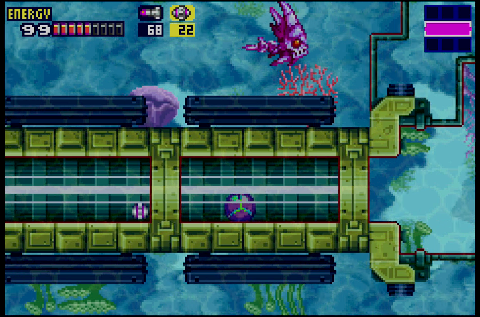
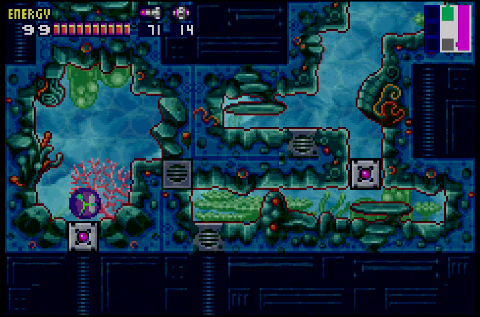
Every portion of the uncharted map here seems like a dead end at first glance. There are clues for to advance, but you have to look for them. In this case, a set of vents sits over a suspicious pit… and while that alone isn’t a dead giveaway, considering how the framework of this region presents plenty of “open” areas outside the playable space, the fact that the two vents over the opening don’t discharge air bubbles the way the other vents do should definitely tip you off to their artifice.
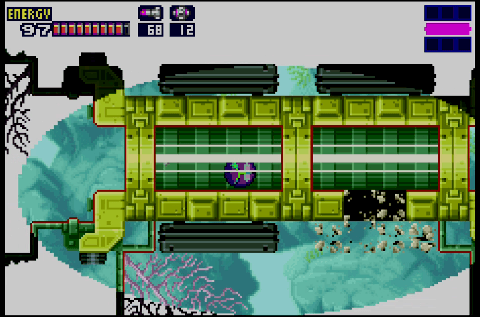
Likewise, drop down and you can take the obvious path to the right… but it dead ends again. The true path is to continue descending through the fake vents. Here the false vents lack the tip-off of empty space below, but since you’ve already learned how to spot the difference between real and fake vents, you can sort it out.
This little nook makes a puzzle out of two separate properties of the game: Rooms that only unlock once enemies are defeated, and X parasites that merge into new enemies if left to fly free. You can’t open the exit to this room unless you allow some of the X parasites from enemies in the main passage to drift over and possess the little (non-parasitic) crab dudes hanging out in this walled-off space. Only when they’re destroyed along with the immediately hostile foes can you advance… something that might not immediately seem intuitive. You’ve been trained to snag free parasites as quickly as possible, but if you do that here you can’t destroy the innocent creatures and the door won’t unlock. It’s a pretty ingenious puzzle, and it’s not completely opaque either, since the basic crabs are sort of conspicuous in the way they putter around in the background of this otherwise useless walled-off section.
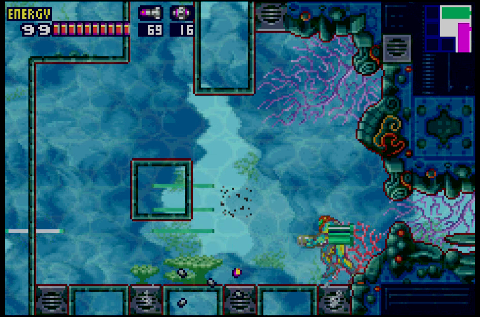
The final bit of this environmental puzzle is a room full of hard-to-reach, invisible passages. It gives you one somewhat obvious route that terminates in a dead end, forcing you to pore over every inch of the room to find the correct route — with a hint coming in the fact that the dead end (the bottom-right cavity obstructed by a Bomb block) sits right next to a huge, conspicuous space that you can’t reach directly (with a Bomb block directly above a pipe leading into a room below). Fusion does a great job of being tricky, but not so devious it feels like you’re playing a guessing game. If Metroid was too opaque with its hidden passages and Super Metroid too obvious, Fusion hits a perfect balance. Or near perfect, I suppose, because how do you improve on perfection? And Zero Mission definitely improves on Fusion.
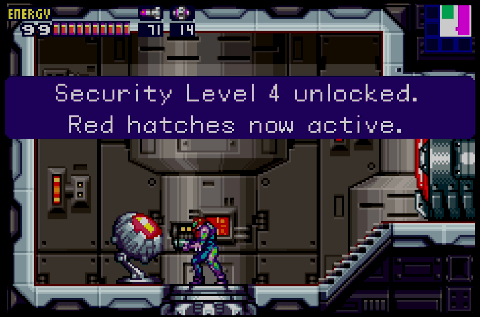
Your ultimate goal here has been to unlock the final set of security doors. As with some of the previous security computers, you had to reach this room through an indirect route. This trip, however, was far more convoluted than your previous escapades… and also, you weren’t given tips (or authorization) by Adam.
With the red doors unlocked, the game gives you no further guidance, leaving you to figure out your next objective for yourself. The continuing lack of didactic direction gives this phase of the game an almost alien feel; you’ve been led by the hand for so long at this point that the notion of working it out for yourself take a bit of adjustment.
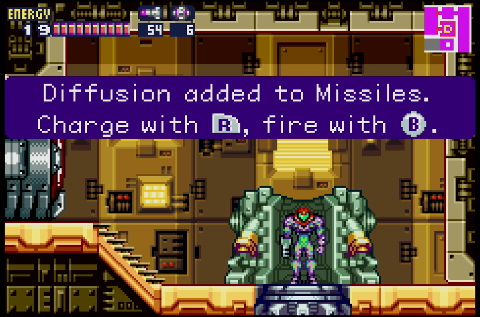
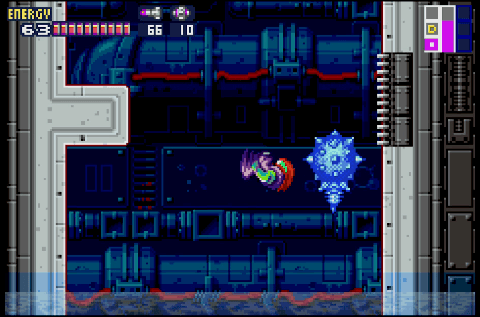
Of course, the answer is to find all the greyed out map spaces behind red door icons, which leads you to this data room where you acquire one of the game’s unique power-ups: Diffusion missiles. This power allows you to charge a missile before firing it off; when a fully charged missile hits a target, it emits a freezing wave that freezes up pretty much everything in the room.
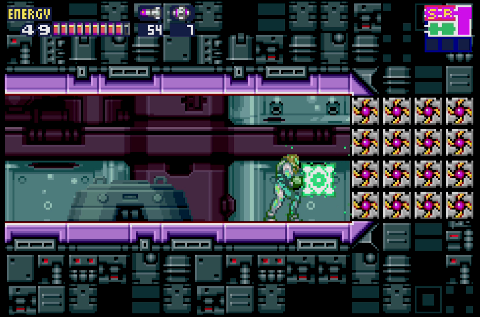
This is helpful for rooms full of creatures that need to be shut down or turned into footholds. It’s also useful for areas like this, where tiny creatures inflate to block passages when you come near. They’re too small to hit with a normal missile, but the diffusion effect can hit them regardless.
Of course, your cool new missile power has no effect on these blocks, which at this point appear to comprise, like, half the station.
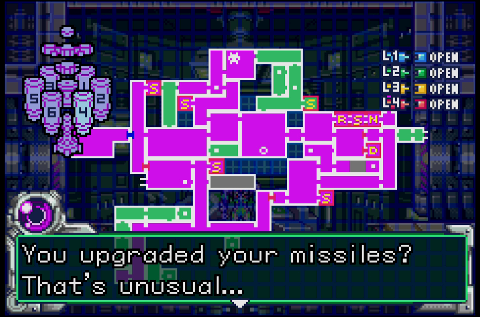
In any case, Adam acts intensely constipated about Samus’ actions and acquisitions, which makes this sequence all the sweeter.
What, no shinespark escape?
While a nice easter egg, the design of the game renders (literally) each ramp used in the process invisible behind foreground elements. Being near-impossible to pull off apparently wasn’t enough; they wanted the trick almost impossible to think of, too.
I’ve tried to do the easter egg myself and keep getting thrown by things like this… and the fact that it’s hard as could be. I’ve 100%’d Zero Mission, which is full of shinespark puzzles so you’d think I’d be quailfied, but no dice. It’s something of a proving ground.
The underwater segment is where I first got the “alone with my stuff, now let’s find some secret items” feel in this game. And though the enemies and puzzles are somewhat challenging, it’s still a nice, calm break after all the recent boss battles and chases.
To this day I’m still not sure what I think about Adam and his tendency to overexplain everything from a design standpoint. It’s annoying, but that’s definitely part of the point, and makes parts like this all the sweeter, as noted. I do wish you could skip the dialogs on a replay, though.
Absolutely, dialog skips are something games like this need desperately.
This is the part of the game that’s really cool. It starts when the power goes out, because you have to go way off the map to fix it, but that’s all still a “mission” from Adam. Once you defeat Nightmare, you end up completely off the reservation, cut off from receiving new orders, unlocking security hatches and collecting powerups on your own initiative. The game builds up to this moment very effectively, and IMO it makes you all the more determined to figure out what’s going on in the next chapter, in the research lab attached to NOC.
On the subject of the shinespark Easter Egg: if you’re not a absurdly, ludicrously talented shinesparker, you can still see the special Navigation Room sequence. I’ve done this, and it works (on the NA version, at least): proceed through this part of the game as the designers intended, but do not go to the Data Room and get the Diffusion Missiles. Instead, space jump under the platform near the door to the data room and fire an ice missile down and to the left. As you do this, shift the screen to the left by moving Samus in that direction *after* you’ve fired the missile. Because of the location of that enemy and the generous hit detection, you can eventually hit it and freeze it while it’s still small. Roll through and go to the Nav room, and since you don’t have the diffusion missiles, the game assumes you did the shinespark trick, as that’s the only way they think you can reach that Nav room w/o the diffusion missiles.